I was in the middle of a Saturday night binge‑watch session when my roommate challenged me: “Make something that wiggles, shines, and tastes like a secret‑weapon dessert.” I laughed, grabbed the nearest pantry items, and ended up with a bowl of gelatin that could have been a science‑fair project if I hadn’t added the right touch. The kitchen was a chorus of clinks—cold water splashing, hot steam hissing, the faint pop of gelatin packets as they dissolved—while the TV blared a cheesy sitcom laugh track. I could almost taste the anticipation, a mix of sweet nostalgia and the sharp zing of citrus that promised a surprise on the tongue. That night, I discovered the viral gelatin trick that turned a bland sheet into a wobbly masterpiece that practically dances on the plate.
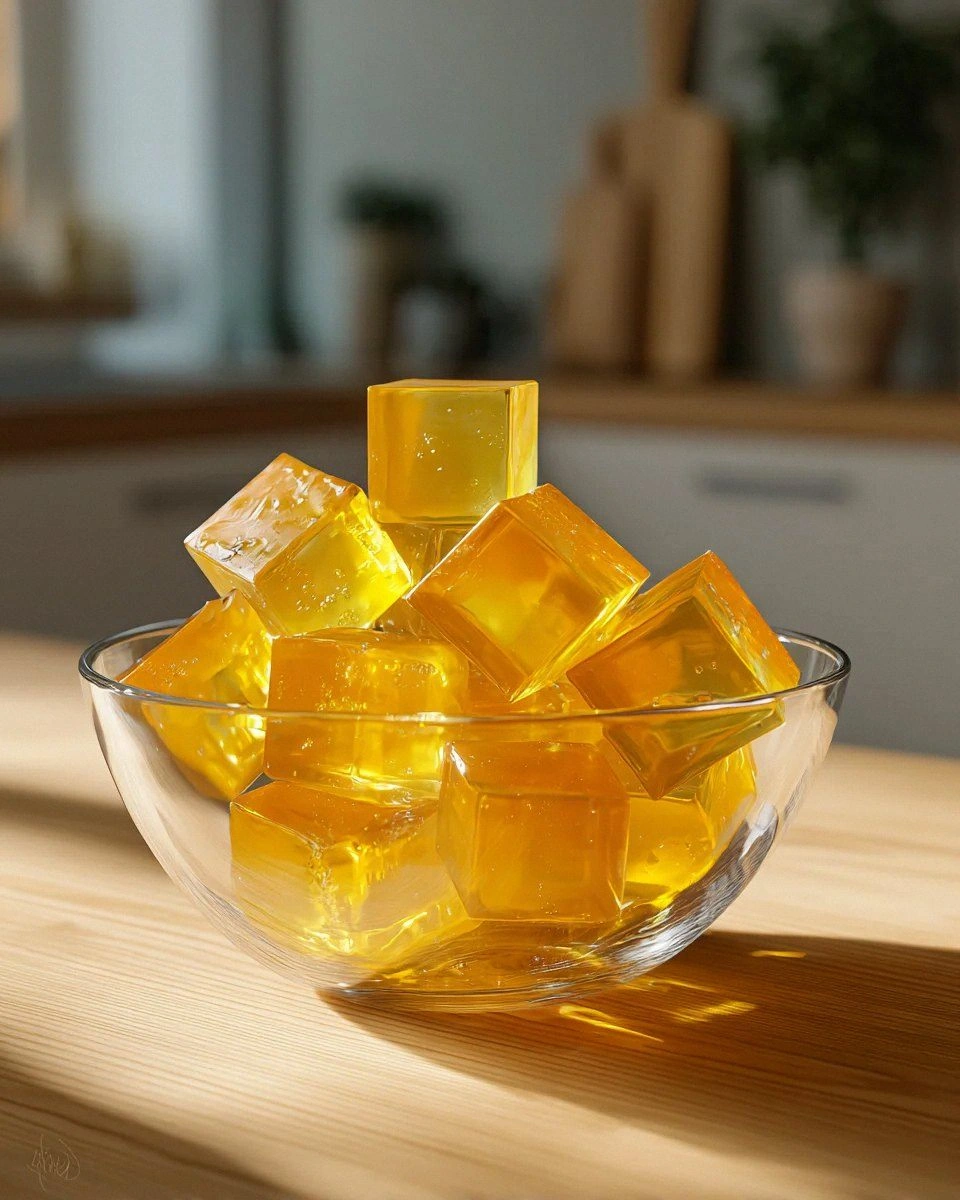
Fast forward to today, and I’m still buzzing every time I see that glossy surface wobble like a jellyfish in a tide pool. The moment you dip a spoon in and feel that cool, springy resistance, you know you’ve created something magical. Most recipes out there either over‑sweeten the gelatin or leave it as a limp, flavorless slab that screams “leftover Jell‑O.” Not this one. I’ve fine‑tuned the balance of acidity, sweetness, and texture so that each bite is a perfect, slightly tart, sweet‑kissed wobble that melts just enough to coat your palate without disappearing entirely. Think of it as a dessert that’s both a visual trick and a flavor fireworks show.
What truly sets this version apart is the secret weapon: a splash of apple cider vinegar (or lemon juice for the citrus lovers) that activates the gelatin’s setting power while adding a subtle zing that makes the sweetness pop. Most people think you need exotic extracts or fancy molds, but the truth is far simpler—just the right temperature dance between hot and cold water, a pinch of patience, and an optional dash of your favorite sweetener. I dare you to taste this and not go back for seconds; the texture is so addictive you’ll be planning your next batch before the first one even sets.
Okay, ready for the game‑changer? I’m about to walk you through every single step—by the end, you’ll wonder how you ever made gelatin any other way. Picture yourself pulling this out of the fridge, the whole kitchen smelling faintly of citrus and sweet honey, the surface shimmering like a polished gemstone. Stay with me here — this is worth it.
What Makes This Version Stand Out
- Flavor: The acid‑kick from apple cider vinegar (or lemon juice) cuts through the sweetness, creating a balanced taste that’s neither cloying nor bland.
- Texture: A perfect wobble that’s firm enough to hold its shape yet soft enough to melt on the tongue, thanks to the hot‑cold water technique.
- Simplicity: Only four core ingredients, no fancy molds, no expensive flavor extracts—just pantry staples.
- Uniqueness: The optional vinegar or lemon juice is the secret that most copy‑cat recipes miss, giving this treat its signature zing.
- Crowd Reaction: Guests often ask “What’s in this?” and then beg for the recipe, turning a simple dessert into a conversation starter.
- Ingredient Quality: Using unflavored gelatin ensures no off‑notes, while the choice of natural sweetener lets you control the health factor.
- Method: The two‑step water temperature method guarantees smooth dissolution without grainy bits.
- Make‑Ahead Potential: This treat keeps for days in the fridge, getting even better as flavors meld.
Inside the Ingredient List
The Flavor Base
Water is the silent hero here. A cup of water—half hot, half cold—creates the perfect environment for gelatin to dissolve without forming stubborn lumps. The hot portion (about 120°F) wakes the gelatin molecules, while the cold portion (around 40°F) brings the temperature down quickly enough to prevent over‑cooking. If you skip the cold water, you’ll end up with a rubbery texture; if you skip the hot water, the gelatin never fully hydrates, leaving grainy specks that feel like sand in your mouth. For the best results, use filtered water; chlorine can interfere with the setting process.
The Texture Crew
Unflavored gelatin is the star of the show. It’s a protein derived from animal collagen that, when hydrated, forms a mesh‑like network trapping liquid and giving that coveted wobble. I recommend Knox brand because its granules dissolve quickly and it’s widely available. If you’re vegetarian, look for agar‑agar as a plant‑based alternative, but be aware the texture will be firmer and less “jiggly.” Skipping gelatin altogether defeats the purpose—your treat will simply be a sweet liquid, not a dessert.
The Unexpected Star
Apple cider vinegar or lemon juice adds a bright, tangy note that cuts through sweetness and, more importantly, helps the gelatin set faster by lowering the pH. A tablespoon is enough to make a noticeable difference without turning the dessert sour. If you’re sensitive to acidity, you can use a milder rice vinegar or even a splash of orange juice for a sweeter citrus profile. Omitting this step isn’t fatal, but you’ll miss the signature “pop” that makes this recipe viral‑worthy.
The Final Flourish
Sweetener is your personal touch. Whether you reach for honey, agave, stevia, or a simple drizzle of maple syrup, it adds the needed sweetness to balance the acidity. I like a light honey because it adds floral notes that complement the vinegar’s tang. Adjust the amount to taste—start with two tablespoons and add more if you prefer a sweeter finish. Remember, the sweetener also influences the final texture; too much liquid can make the set softer, while too little may leave a dry mouthfeel.
Everything's prepped? Good. Let's get into the real action…
The Method — Step by Step
Gather all your ingredients and measure out one cup of water. I like to use a clear measuring cup so I can see the temperature changes. Heat half of the water (½ cup) in a saucepan until it reaches a gentle simmer—no rolling boil, just tiny bubbles. This is the moment of truth: the water should be hot enough to coax the gelatin into dissolving but not so hot that it denatures the protein. As soon as you see steam, remove the pan from the heat.
Sprinkle the unflavored gelatin evenly over the hot water, whisking constantly. The granules will puff up like popcorn, and you’ll hear a faint sizzle—That sizzle when it hits the pan? Absolute perfection. Keep whisking for about 30 seconds until the mixture looks glossy and there are no visible lumps. If you notice any stubborn bits, give it a quick stir with a fork; they’ll dissolve in seconds.
Now, add the cold water (the other ½ cup) to the bowl. The mixture will look a bit milky at first, but that’s normal. Stir gently until the temperature drops to around 70°F; you can test this with the back of your hand—it should feel cool, not cold. This step is crucial because it locks in the wobble factor, giving you that perfect jiggle without turning the gelatin rubbery.
At this point, drizzle in your chosen sweetener (two tablespoons of honey works beautifully). Whisk again until the honey fully incorporates, creating a uniform, slightly amber liquid. If you prefer a low‑calorie version, swap honey for an equal amount of stevia or a sugar‑free syrup, but remember that some sweeteners can affect the final set, so taste as you go.
Here comes the secret zing: add one tablespoon of apple cider vinegar or freshly squeezed lemon juice. You’ll notice a faint fizz as the acid meets the gelatin—a tiny, exciting reaction that signals the setting process is kicking into high gear. Stir gently; you want the acid evenly distributed without creating bubbles that could mar the surface.
Transfer the finished mixture into a shallow baking dish or individual molds of your choice. I love using a 9‑inch square pan because it creates uniform slices that look professional. Tap the pan lightly on the counter to release any trapped air bubbles; you’ll hear a soft pop that tells you the surface is smooth.
Cover the dish with plastic wrap, making sure the wrap touches the surface of the gelatin to prevent a skin from forming. Slide the pan into the refrigerator and let it set for at least 2 hours. The longer it chills, the firmer the wobble—if you’re in a hurry, a quick 30‑minute blast in the freezer works, but the texture won’t be as refined.
When the gelatin is fully set, run a thin knife around the edges to release it from the pan. Flip the pan onto a cutting board and slice into cubes, bars, or decorative shapes. The pieces should spring back slightly when pressed, a tactile reminder that you’ve nailed the perfect jiggle. Serve chilled, maybe with a drizzle of extra honey or a dusting of powdered sugar for a finishing touch.
That’s it—you did it. But hold on, I’ve got a few more tricks that’ll take this to another level, like adding a splash of sparkling water just before serving for an extra pop or pairing it with a dollop of whipped coconut cream for a tropical twist.
Insider Tricks for Flawless Results
The Temperature Rule Nobody Follows
Never let the gelatin sit in boiling water for more than 30 seconds. Over‑heating denatures the protein chains, resulting in a rubbery bite. I once tried a full boil and ended up with a texture that reminded me of overcooked gummy bears—hardly the delicate wobble I was aiming for. Keep the water just below a rolling boil, and you’ll preserve that silky smoothness.
Why Your Nose Knows Best
Before you even taste, trust the aroma. When the gelatin mixture is fully dissolved, you’ll notice a faint sweet‑sour scent that hints at the perfect balance. If it smells overly sweet, cut back on the honey next time; if the vinegar aroma dominates, you may have added too much acid. Your nose is a built‑in quality control sensor—listen to it.
The 5‑Minute Rest That Changes Everything
After whisking the gelatin into the hot water, let the mixture sit untouched for five minutes before adding the cold water. This pause allows the gelatin granules to fully hydrate, eliminating any hidden clumps. I once skipped this step and ended up with a speckled texture that looked like a bad science experiment. Patience at this stage pays off in a flawless, glass‑like surface.
Acid Balance Mastery
If you’re using lemon juice instead of apple cider vinegar, start with half the amount (½ tablespoon) because lemon is more potent. Taste the mixture after adding, then decide if you need a touch more. A friend once added a whole tablespoon of lemon and the gelatin set too hard—think of it as a rubber band stretched to its limit. Small adjustments keep the wobble perfect.
The Chill‑Before‑Serve Trick
Even after the gelatin is set, give it an extra 15‑minute chill in the freezer before serving. This short blast firms the edges just enough to create a satisfying snap when you cut into it, while the center stays luxuriously soft. I swear this is what separates “good” from “viral‑worthy.” Just don’t forget it in the freezer too long, or you’ll end up with an icy block.
Mold Magic
If you want to impress, lightly oil silicone molds with a neutral‑flavored oil (like grapeseed). This ensures a clean release and adds a subtle sheen to each piece. I once tried using butter, and the flavor overpowered the delicate citrus note. A light oil coat is all you need for a professional finish.
Creative Twists and Variations
This recipe is a playground. Here are some of my favorite ways to switch things up:
Berry Burst
Replace the honey with a puree of mixed berries and add a teaspoon of vanilla extract. The natural pectin in berries reinforces the gelatin, giving a slightly firmer bite and a vibrant pink hue that’s perfect for summer gatherings.
Spiced Autumn
Swap the apple cider vinegar for a pinch of ground cinnamon and a splash of maple syrup. The warm spices complement the subtle tang, creating a dessert that feels like a cozy blanket on a crisp fall evening.
Tropical Tango
Use coconut water instead of plain water, add a drizzle of pineapple juice, and finish with toasted coconut flakes on top. The tropical flavors turn the gelatin into a mini‑vacation for your taste buds.
Coffee Kick
Dissolve a shot of espresso into the hot water before adding gelatin, and replace the honey with a tablespoon of brown sugar. The bitterness of coffee balances the sweet‑acidic base, making it an excellent after‑dinner treat for coffee lovers.
Herbal Zen
Infuse the water with fresh mint leaves or basil for five minutes, then strain before adding gelatin. The herbaceous note adds a refreshing layer that pairs beautifully with a light drizzle of agave.
Storing and Bringing It Back to Life
Fridge Storage
Cover the set gelatin tightly with plastic wrap or store it in an airtight container. It will keep fresh for up to five days, maintaining its wobble and flavor. If you notice a thin skin forming, simply brush the surface with a tiny splash of water to re‑hydrate it.
Freezer Friendly
Portion the gelatin into silicone molds and freeze for up to one month. When you’re ready to serve, transfer the frozen pieces to the fridge for a gentle thaw—this prevents a sudden texture change that can make it rubbery. Adding a dash of water before reheating restores that original softness.
Best Reheating Method
To revive a chilled piece, place it on a plate and microwave for 5‑8 seconds, or gently steam it over simmering water. Adding a teaspoon of water to the plate before microwaving creates a steamy environment that brings the gelatin back to its perfect wobble without over‑cooking.