Picture this: a Sunday afternoon, the kitchen smelling like burnt sugar and the timer on the stove ticking like a metronome. I was halfway through a batch of brownies when the oven door opened to reveal a slab of burnt chocolate that could have been a modern art statement. My friend, a self‑proclaimed dessert guru, dared me to create something sweet enough to make the brownies feel like a distant memory. I was not going to let that dare go unfulfilled.
I reached for the pantry, my senses on high alert. The sight of a creamy, pale cottage cheese tub, the earthy aroma of peanut butter, and the faint whisper of maple syrup promised a sweet rebellion. I could hear the faint hiss of a blender, feel the smoothness of the mixture against my fingers, taste the tang of dairy, and smell the nutty sweetness rising. Every element was a note in a symphony that was about to play. If you’ve ever felt the sting of a kitchen mishap, you’ll know that the right ingredients can turn a disaster into a delicious triumph.
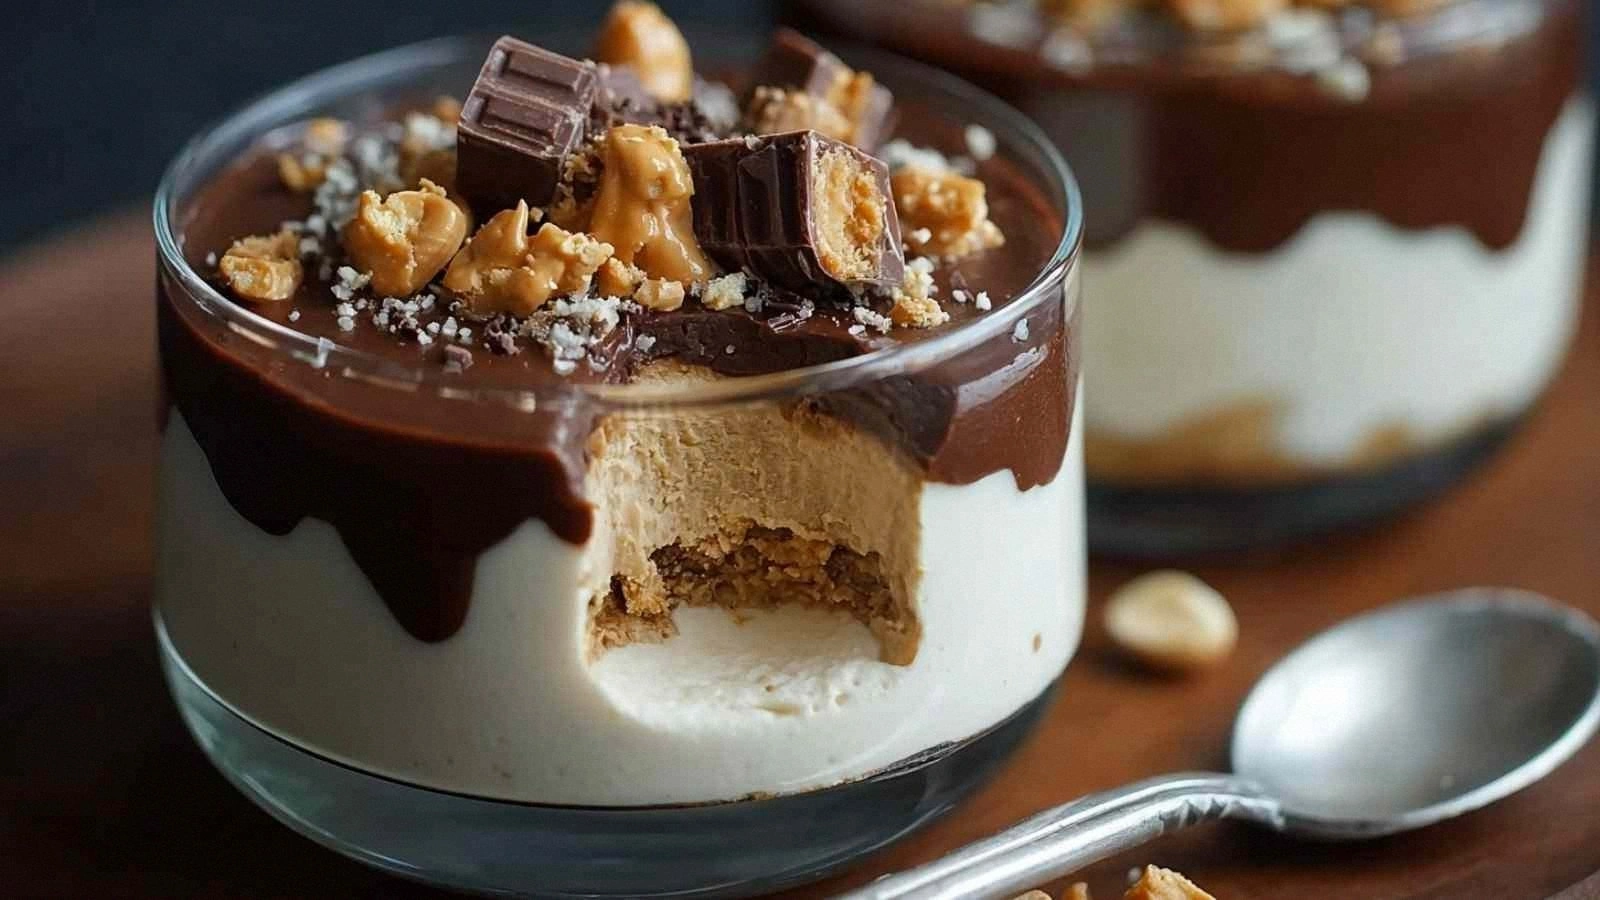
What makes this version stand out? The secret is in the combination of humble cottage cheese and rich peanut butter, balanced by a splash of maple syrup and a whisper of vanilla. The texture is airy, the flavor profile is bold, and the finish is a glossy, chocolatey sheen that feels like a velvety coat on the tongue. I dare you to taste this and not go back for seconds because it’s a one‑time, mouth‑watering experience. It’s hands down the best version you’ll ever make at home, and I’ve got the proof in every bite.
And now, let me walk you through every single step. By the end, you’ll wonder how you ever made it any other way. The journey starts with a simple blend, a dash of cocoa, and a sprinkle of dark chocolate chips that will melt into a decadent swirl. This is the recipe that will change your dessert game forever.
What Makes This Version Stand Out
- Texture: The cottage cheese gives a silky, mousse‑like mouthfeel that’s airy yet substantial. It’s like a cloud that settles into a chocolate‑butter dream.
- Flavor: Peanut butter brings a deep, nutty undertone that balances the sweetness of maple syrup and the bitterness of cocoa.
- Sweetness: Maple syrup provides natural sweetness without the heaviness of refined sugar, keeping the dessert light.
- Convenience: No baking required. One blender, one bowl, and a chill for a few minutes. It’s the ultimate quick dessert.
- Versatility: Works as a dessert, a snack, or a party treat. The chocolate chips add a satisfying crunch.
- Health Angle: Cottage cheese is high in protein, and peanut butter offers healthy fats, making this indulgence surprisingly balanced.
- Make‑Ahead: Chill for up to 24 hours; the flavors meld beautifully, and the mousse remains firm.
Alright, let's break down exactly what goes into this masterpiece…
Inside the Ingredient List
The Flavor Base
At the heart of this mousse is the cottage cheese. It’s the backbone that provides a creamy texture without the heaviness of cream. When blended, it turns into a silky foundation that carries the other flavors. Skipping it would leave you with a flat, peanut‑only dessert that lacks body.
The Texture Crew
Peanut butter is the next star. It adds a rich, nutty depth that’s impossible to ignore. If you use a natural peanut butter without added sugars, you’ll notice a cleaner taste. For those who love a touch of crunch, opt for crunchy peanut butter; for a smoother bite, choose creamy. The difference is subtle but significant.
The Unexpected Star
Maple syrup (or honey) is the sweetener that balances the bitterness of cocoa and the saltiness of peanut butter. It’s a natural sweetener that brings a warm, caramelized flavor. If you’re watching calories, reduce the amount slightly, but don’t skimp on the flavor.
The Final Flourish
Mini dark chocolate chips add both texture and a burst of chocolatey joy. They melt slightly into the mousse, creating a swirl that looks like a chocolate river. If you’re vegan, look for dairy‑free chocolate chips; they’ll hold up just as well.
Everything's prepped? Good. Let's get into the real action...
The Method — Step by Step
- Start by scooping the cottage cheese into a high‑speed blender. The goal is to break down the curds into a smooth, velvety base. Watch the mixture transform; it should look like a creamy cloud before the peanut butter even enters the scene. This step is crucial—skip it, and you’ll end up with a lumpy texture that feels like a bad haircut.
- Add the natural peanut butter to the blender. Blend until fully incorporated. The peanut butter should dissolve into the cottage cheese, creating a rich, nutty body that coats the blender blades like a glossy paint. If the mixture seems too thick, a splash of milk will help smooth things out.
- Introduce the maple syrup (or honey) and vanilla extract. Blend again until the sweetener is fully dissolved and the mixture has a glossy sheen. The aroma will shift from nutty to caramel‑sweet, signaling that the flavor is balancing perfectly. This is the moment you can almost taste the future dessert.
- Sift in the unsweetened cocoa powder. Sifting prevents clumps and ensures a smooth, chocolatey base. Blend until the cocoa is fully integrated; the mixture should now have a deep chocolate color that’s almost black. The cocoa’s bitterness will cut through the sweetness, creating a balanced flavor profile.
- Fold in the mini dark chocolate chips by hand. The chips should be evenly distributed, creating little pockets of molten chocolate that melt into the mousse as you eat. This step adds a delightful crunch and visual appeal. The chips also act as a subtle contrast to the smooth base.
- Transfer the mousse into serving glasses or a shallow dish. The mixture should pour smoothly, leaving a glossy surface. If you prefer a firmer mousse, let it sit in the refrigerator for at least 30 minutes; the flavors will meld, and the texture will set into a silky custard.
- Optional: Top each serving with a light dusting of cocoa powder or a few extra chocolate chips for a finishing touch. Garnish with a sprig of mint or a drizzle of peanut butter for visual flair. Serve immediately or keep chilled until ready to enjoy.
That's it — you did it. But hold on, I've got a few more tricks that'll take this to another level...
Insider Tricks for Flawless Results
The Temperature Rule Nobody Follows
Blending at room temperature yields a smoother mousse than cold ingredients. Cold cottage cheese can cause the mixture to separate, creating a watery texture. Keep the ingredients at room temperature for at least 30 minutes before blending, and you’ll achieve a silky finish that feels like velvet on your tongue.
Why Your Nose Knows Best
Before you finish blending, sniff the mousse. If it smells like burnt sugar, you’ve over‑mixed or added too much maple syrup. A subtle, caramel aroma is the sweet spot. Trust your nose; it’s your best judge of flavor balance.
The 5-Minute Rest That Changes Everything
After folding in the chocolate chips, let the mixture rest for 5 minutes. This short pause allows the chips to melt slightly into the mousse, creating a smoother, more integrated flavor. Skipping this step leaves the chips clumping together like tiny chocolate islands.
Chill, Don’t Freeze
Refrigeration is key. Let the mousse chill for at least 30 minutes to set the texture. Freezing it will cause the dairy to separate and the texture to become grainy. If you must store longer, keep it in an airtight container and thaw slowly in the fridge.
Serve With a Splash of Milk
Right before serving, drizzle a thin line of milk or a splash of almond milk over the top. This adds a glossy sheen and a subtle lift to the flavor, making the mousse feel lighter and more airy.
Creative Twists and Variations
This recipe is a playground. Here are some of my favorite ways to switch things up:
Nutty Crunch
Replace the mini dark chocolate chips with chopped roasted almonds or hazelnuts. The crunch adds texture, and the nutty flavor complements the peanut butter base. It’s a perfect dessert for nut lovers.
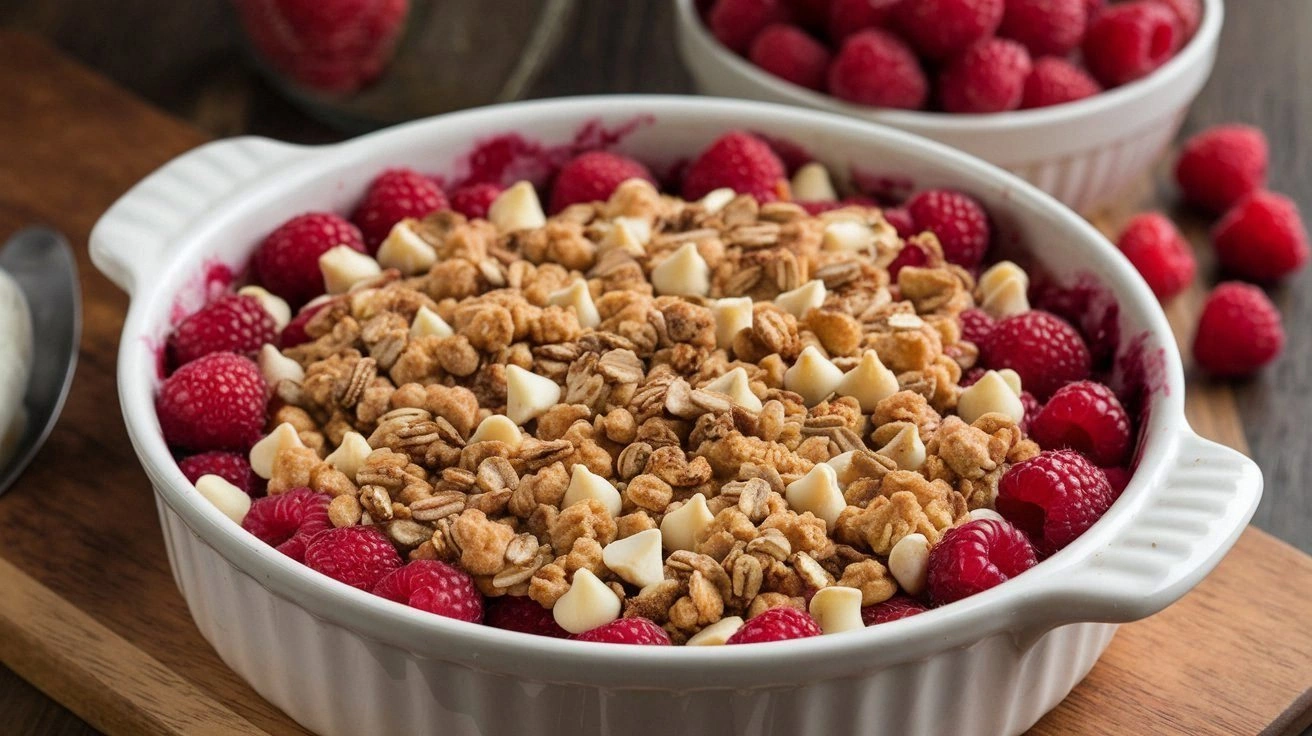
Berry Burst
Fold in fresh blueberries or raspberries after blending the base. The berries add a tart contrast that brightens the chocolatey richness. Serve with a dollop of whipped cream for extra indulgence.
Spiced Delight
Introduce a pinch of cayenne pepper or cinnamon into the cocoa mixture. The subtle heat or warmth adds depth, turning the mousse into a spicy chocolate treat that’s surprisingly refreshing.
Vegan Version
Swap the cottage cheese for a plant‑based alternative like silken tofu or vegan cottage cheese. Use a vegan peanut butter and maple syrup to keep the flavor profile intact. The texture remains creamy, and the dessert stays cruelty‑free.
Salted Caramel Twist
Drizzle a thin layer of salted caramel sauce over the mousse before serving. The salty sweetness pairs beautifully with the chocolate, creating a flavor explosion that satisfies every craving.
Storing and Bringing It Back to Life
Fridge Storage
Store the mousse in an airtight container in the refrigerator for up to 48 hours. The flavors will meld even more deeply, and the texture will firm up into a silky custard. Before serving, let it sit at room temperature for 5–10 minutes to soften slightly.
Freezer Friendly
For longer storage, freeze the mousse in a freezer‑safe container for up to 2 weeks. When ready to eat, thaw overnight in the refrigerator. The texture may become slightly firmer, but a quick whisk will restore its original smoothness.
Best Reheating Method
To reheat, gently warm the mousse in a microwave on low power for 15–20 seconds, then stir. Alternatively, place the container in a bowl of warm water for a minute. Add a tiny splash of water before reheating to create steam, which helps the mousse regain its airy texture.