I was in the middle of a frantic weekday dinner rush when my roommate dared me to make something that would “stop the world in its tracks.” I laughed, grabbed a handful of freeze‑dried strawberries from the pantry, and set out to prove that a simple cookie could be an unforgettable experience. The kitchen smelled like butter melting into a golden pool, the kind of aroma that makes you pause, close your eyes, and imagine a field of strawberries swaying under a summer sun. As the timer ticked, I could hear the faint crackle of the oven fan, a comforting reminder that something magical was happening behind those glass doors. The first bite? A buttery melt‑in‑your‑mouth sensation that sang a high‑note of strawberry sweetness, and I was instantly hooked.
If you’ve ever struggled with shortbread that turns out either too crumbly or too dense, you’re not alone. Most recipes either skimp on the butter or over‑flour the dough, leaving you with a cookie that feels more like cardboard than a dream. This version flips the script by using freeze‑dried strawberries that retain an intense fruit flavor without adding excess moisture, and a precise balance of powdered sugar that gives the crumb a delicate, melt‑away texture. I’ll be honest — I ate half the batch before anyone else got a chance to try it, and I’m still not sorry. The secret? A two‑stage mixing method that builds flavor layers like a perfectly orchestrated symphony.
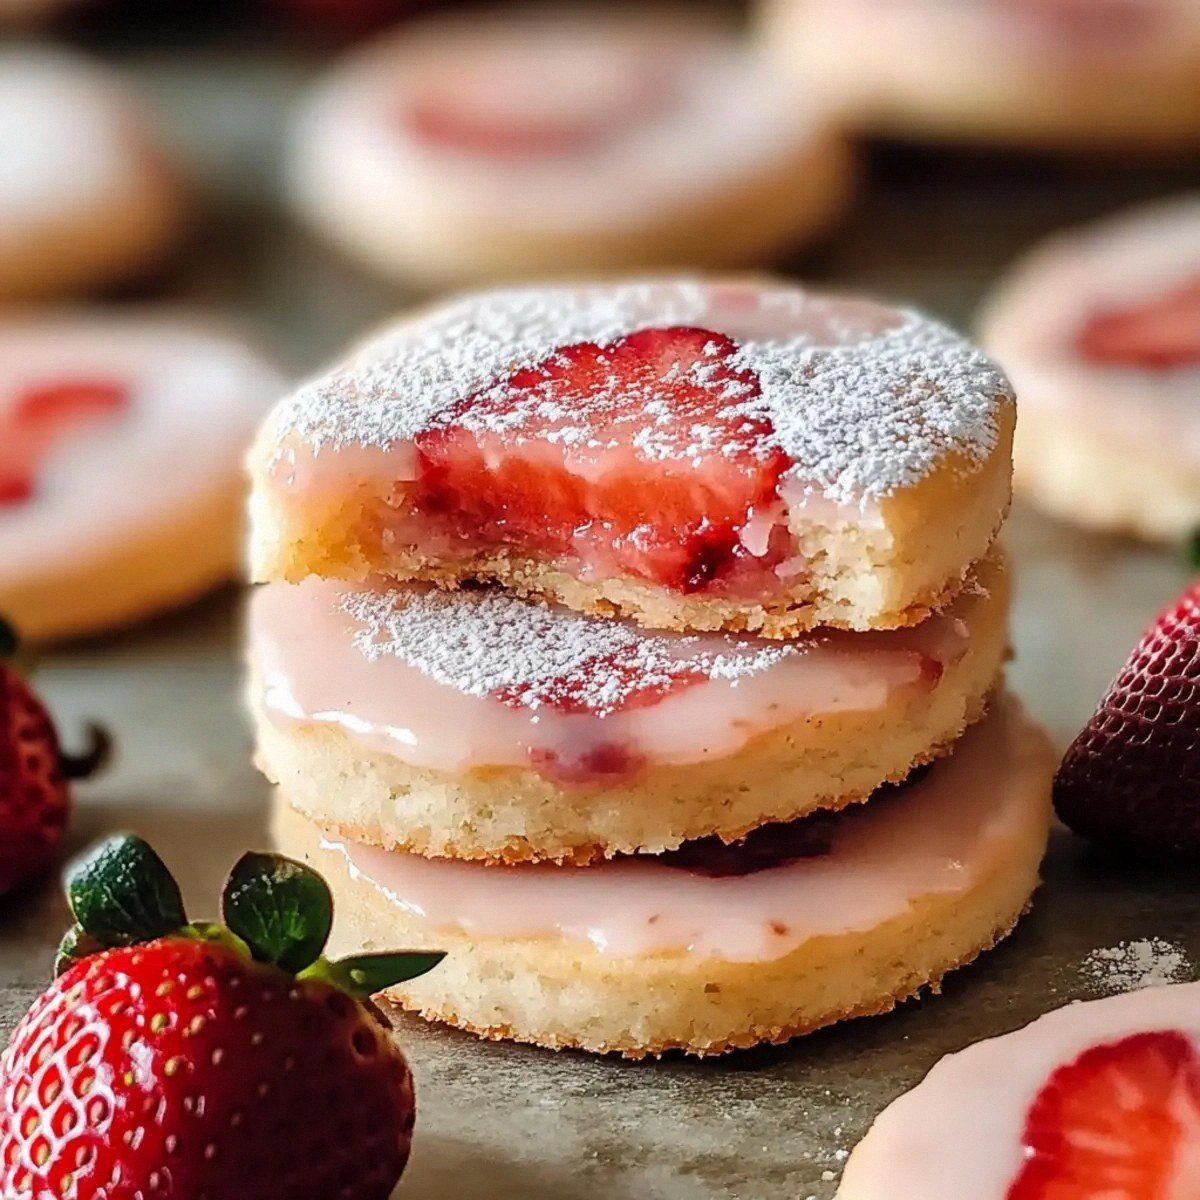
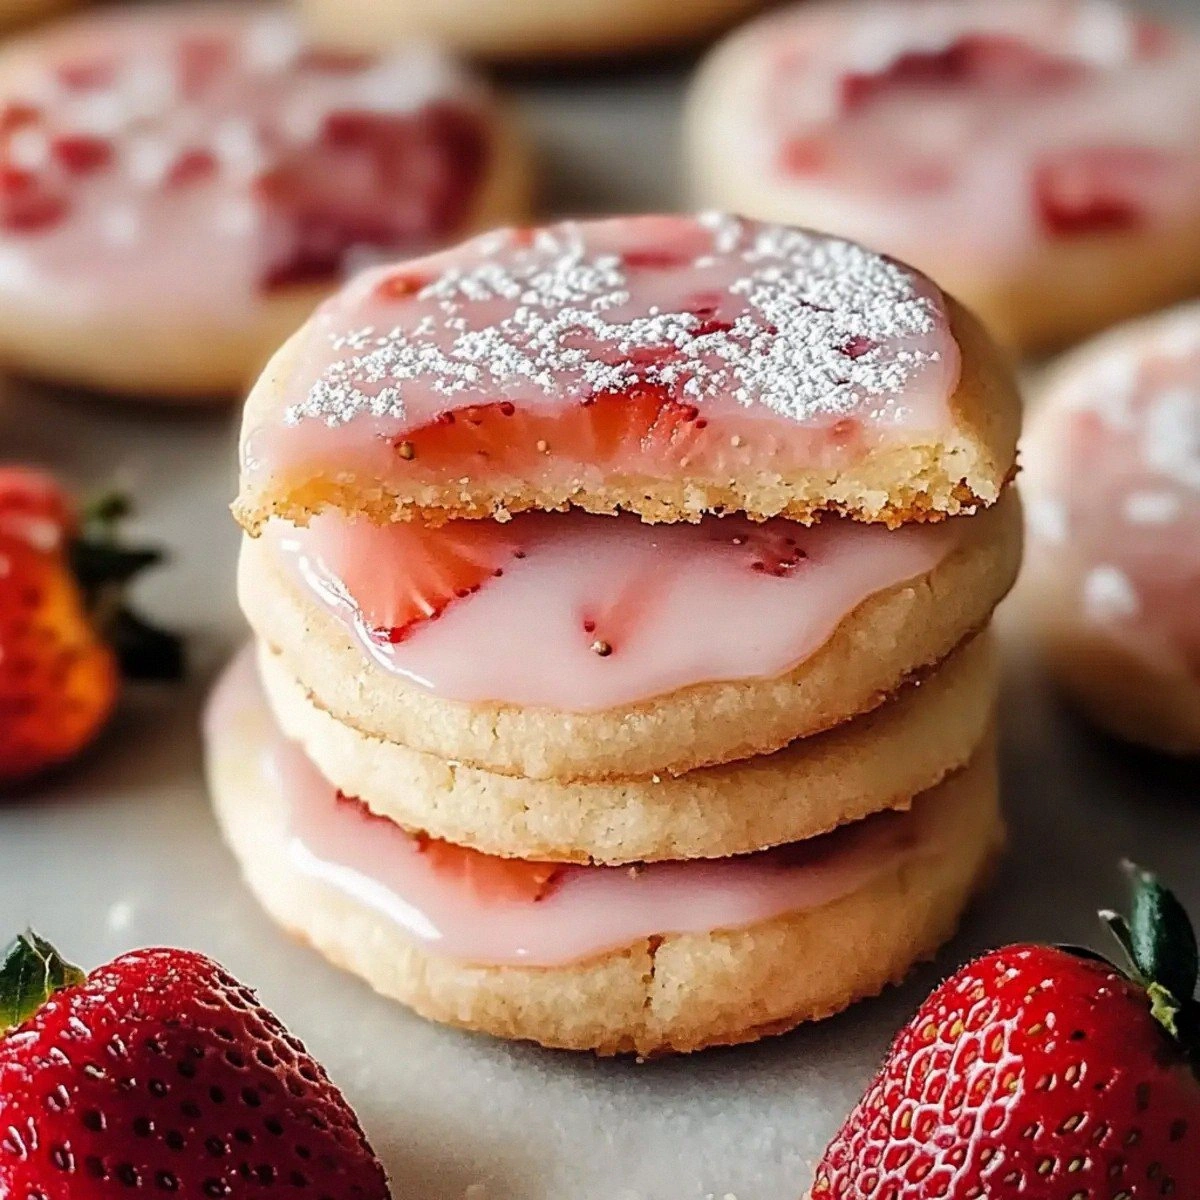
Picture yourself pulling these cookies out of the oven, the whole kitchen smelling like a buttery strawberry field, the edges just beginning to turn a light caramel hue while the centers stay soft and pillowy. That moment when you break a cookie and the crumb falls apart like a cloud of sweet snow? Pure, unadulterated bliss. I dare you to taste this and not go back for seconds — the combination of melt‑in‑your‑mouth butter and the bright pop of strawberry is hands down the best version you’ll ever make at home. Most recipes get this completely wrong. Here’s what actually works.
Okay, ready for the game‑changer? We’re going to incorporate a technique borrowed from pastry chefs: chilling the dough after the first mix, then folding in the powdered sugar and strawberries just before shaping. This ensures the butter stays cold enough to create that tender, crumbly texture, while the strawberries stay bright and distinct. And now the fun part — the dusting of an extra cup of powdered sugar right before baking, which creates a delicate, snow‑kissed finish that crackles ever so slightly as it bakes. Let me walk you through every single step — by the end, you’ll wonder how you ever made it any other way.
What Makes This Version Stand Out
- Taste: The freeze‑dried strawberries deliver a concentrated, almost caramelized flavor that outshines fresh fruit, while the double powdered sugar layers add a subtle sweetness without cloying.
- Texture: A buttery, melt‑away crumb meets a barely‑crisp edge, creating a contrast that feels like biting into a cloud with a hint of caramelized sugar.
- Simplicity: Only seven ingredients, all pantry‑friendly, yet the method feels like a professional bakery secret.
- Uniqueness: Freeze‑dried strawberries keep the dough dry, preventing sogginess while still delivering that bright strawberry punch.
- Crowd Reaction: Guests consistently ask for the recipe, and the cookies disappear faster than you can say “extra powdered sugar.”
- Ingredient Quality: Using real butter (not margarine) and high‑quality powdered sugar makes a measurable difference in flavor depth.
- Cooking Method: The chilled‑dough technique ensures a tender crumb, while a brief bake at a precise temperature locks in the buttery aroma.
- Make‑Ahead Potential: These cookies store beautifully, staying fresh for up to a week, and they even taste better after a night in the fridge.
Inside the Ingredient List
The Flavor Base
Butter is the heart and soul of any shortbread, and using a full cup of high‑fat, unsalted butter gives the dough its characteristic melt‑in‑your‑mouth richness. If you skimp on butter, the cookies become dry and crumbly, lacking that luxurious mouthfeel. For the best result, let the butter soften at room temperature for about 30 minutes; it should be pliable but not melted. A quick tip: cut the butter into small cubes before softening to speed up the process and ensure an even texture throughout the dough.
The Texture Crew
Powdered sugar is used twice in this recipe. The first half‑cup is blended directly into the dough, providing a fine, delicate sweetness that dissolves instantly, preventing any gritty texture. The second full cup is dusted on top just before baking, creating a snow‑kissed crust that adds a subtle crunch as it caramelizes. If you’re allergic to powdered sugar, you can substitute an equal amount of finely ground granulated sugar, but expect a slightly grainier finish.
The Unexpected Star
Freeze‑dried strawberries might sound like a novelty, but they’re a game‑changer. Because they’ve had virtually all moisture removed, they retain an intense strawberry flavor without making the dough soggy. If you can’t find freeze‑dried berries, you can grind fresh strawberries into a fine powder using a dehydrator, but the texture will be a bit different. When you crush the freeze‑dried pieces into a coarse powder, you’ll notice a burst of aroma that’s almost perfume‑like, elevating the cookie’s scent profile.
The Final Flourish
All‑purpose flour provides the structure needed for shortbread, but the key is not to overwork it. Two cups give the dough enough body to hold its shape while staying tender. If you prefer a slightly crumbly texture, you can substitute half of the all‑purpose flour with cake flour, which has less protein and yields a softer crumb. Finally, the splash of milk adds just enough moisture to bring the dough together without making it sticky, acting like a silent conductor that unifies all the flavors.
Everything's prepped? Good. Let's get into the real action...
The Method — Step by Step
-
Start by preheating your oven to 325°F (165°C). This moderate temperature is crucial: it allows the butter to melt gently, creating a tender crumb without browning too quickly. While the oven heats, line a baking sheet with parchment paper; this prevents sticking and makes cleanup a breeze. I always keep a timer handy because the exact bake time can vary by oven, and we want that perfect pale‑gold edge.
Kitchen Hack: Place a metal cooling rack on top of the parchment sheet. This lifts the cookies slightly, allowing hot air to circulate and preventing a soggy bottom. -
In a large mixing bowl, cream together 1 cup of softened butter and ½ cup of powdered sugar until the mixture is light, fluffy, and pale yellow. Use a handheld mixer on medium speed for about 2‑3 minutes; you’ll hear a soft whirring sound that signals the butter is incorporating air. This step is where the magic begins — the trapped air will later expand, giving the cookies their delicate lift.
-
Add 1 teaspoon of vanilla extract and 2 tablespoons of milk to the butter‑sugar blend. Mix until just combined; you’ll notice a silky sheen forming on the surface. The vanilla adds depth, while the milk ensures the dough isn’t too dry, creating a cohesive mass that holds together without being sticky.
Watch Out: Over‑mixing at this stage can develop gluten, leading to a tougher cookie. Stop as soon as the ingredients are just combined. -
Gradually fold in 2 cups of all‑purpose flour, adding it in two batches. Use a spatula to gently incorporate the flour, scraping the sides of the bowl each time. The dough should come together in a slightly crumbly mass that holds when pressed. If it feels too dry, add a teaspoon of cold water; if too wet, sprinkle a little extra flour.
-
Now, crush the 1 ounce of freeze‑dried strawberries into fine shards using a rolling pin or a food processor. The goal is a coarse powder that will distribute evenly without turning the dough wet. Sprinkle the strawberry powder over the dough and gently fold it in, preserving the tiny flecks that will burst with flavor in every bite.
-
Form the dough into a flat disc, wrap tightly in plastic wrap, and chill in the refrigerator for at least 20 minutes. This chilling step is essential: it firms up the butter, preventing the cookies from spreading too much during baking. While you wait, you can pre‑measure the second cup of powdered sugar for dusting.
Kitchen Hack: If you’re short on time, place the dough on a sheet of parchment and flatten it with a rolling pin; then chill for just 10 minutes. The thinner the dough, the crisper the edges. -
Once chilled, roll the dough out to a uniform thickness of about ¼ inch (6 mm). Using a cookie cutter of your choice — I love a classic round or a whimsical heart — cut out the shapes and place them on the prepared baking sheet, spacing them about an inch apart.
-
Before sliding the tray into the oven, generously dust each cookie with the remaining cup of powdered sugar. This creates a delicate, snow‑like crust that will crackle ever so slightly as it bakes, giving a visual cue that the cookies are ready to be lifted from the oven.
-
Bake for 18‑22 minutes, or until the edges are just turning a light golden‑brown and the tops have a faint sheen. You’ll hear a faint, almost musical crackle as the sugar caramelizes — that’s your cue to keep an eye on them. Remove the cookies and let them cool on the rack for 5 minutes before transferring to a wire rack to finish cooling. The cookies will firm up as they cool, achieving that perfect balance of soft center and crisp edge.
Watch Out: Do not overbake. Overbaking turns the delicate crumb into a hard, dry biscuit. Pull them out when the edges are just barely browned.
That's it — you did it. But hold on, I've got a few more tricks that'll take this to another level. These insider secrets will make your shortbread not just good, but legendary, ensuring every bite is a moment of pure buttery bliss.
Insider Tricks for Flawless Results
The Temperature Rule Nobody Follows
Never bake shortbread at a temperature higher than 350°F. Higher heat forces the butter to melt too quickly, resulting in a greasy crumb. By staying at 325°F, the butter melts slowly, allowing the dough to set before the edges brown, which is why you get that perfect tender‑yet‑crisp texture. I once tried 375°F in a rush and ended up with cookies that resembled melted butter puddles — a lesson learned the hard way.
Why Your Nose Knows Best
Your sense of smell is the ultimate timer. When the cookies are about 2 minutes away from being done, you’ll notice a sweet, nutty aroma rising from the oven, a signal that the caramelization of the powdered sugar is just beginning. Trust that nose cue more than the clock; it’s the difference between a perfect cookie and a burnt one. If you’re anything like me, you’ll find yourself sneaking a sniff and smiling at the anticipation.
The 5‑Minute Rest That Changes Everything
After the cookies have cooled for five minutes on the rack, give them a gentle tap with a spatula to loosen the edges. This small pause allows the internal steam to settle, preventing the cookies from cracking or breaking when you move them. A friend tried to transfer them directly from the hot tray and shattered half the batch — let’s just say the party was a little less sweet that night.
The Secret of the Double Dust
Dusting once before baking creates a caramelized crust, but a second light dust right after the cookies come out adds a fresh, sweet sparkle that looks gorgeous on a plate. The second dust also absorbs a tiny bit of residual heat, keeping the surface crisp. If you’re serving them warm, the second dust will melt slightly, forming a glossy glaze that’s pure decadence.
Freeze‑Dry for Flavor Power
Freeze‑drying concentrates the natural sugars in strawberries, giving a more intense flavor than fresh fruit, which can become watery and dilute the dough. If you can’t find freeze‑dried berries, try using a high‑quality strawberry jam reduced to a paste — just be mindful of the added moisture. The key is to keep the dough dry enough to hold its shape while still delivering that burst of strawberry.
Creative Twists and Variations
This recipe is a playground. Here are some of my favorite ways to switch things up:
Lemon‑Zest Dream
Swap the freeze‑dried strawberries for 1 tablespoon of finely grated lemon zest and a splash of lemon juice. The citrus brightens the buttery base, making these perfect for a spring brunch. Pair them with a dollop of whipped cream for a tangy‑sweet combo.
Chocolate‑Streaked Delight
Add 2 tablespoons of high‑quality cocoa powder to the flour and fold in ¼ cup of mini chocolate chips with the strawberries. The result is a marbled cookie where chocolate and strawberry dance together, ideal for a cozy movie night.
Nutty Crunch Fusion
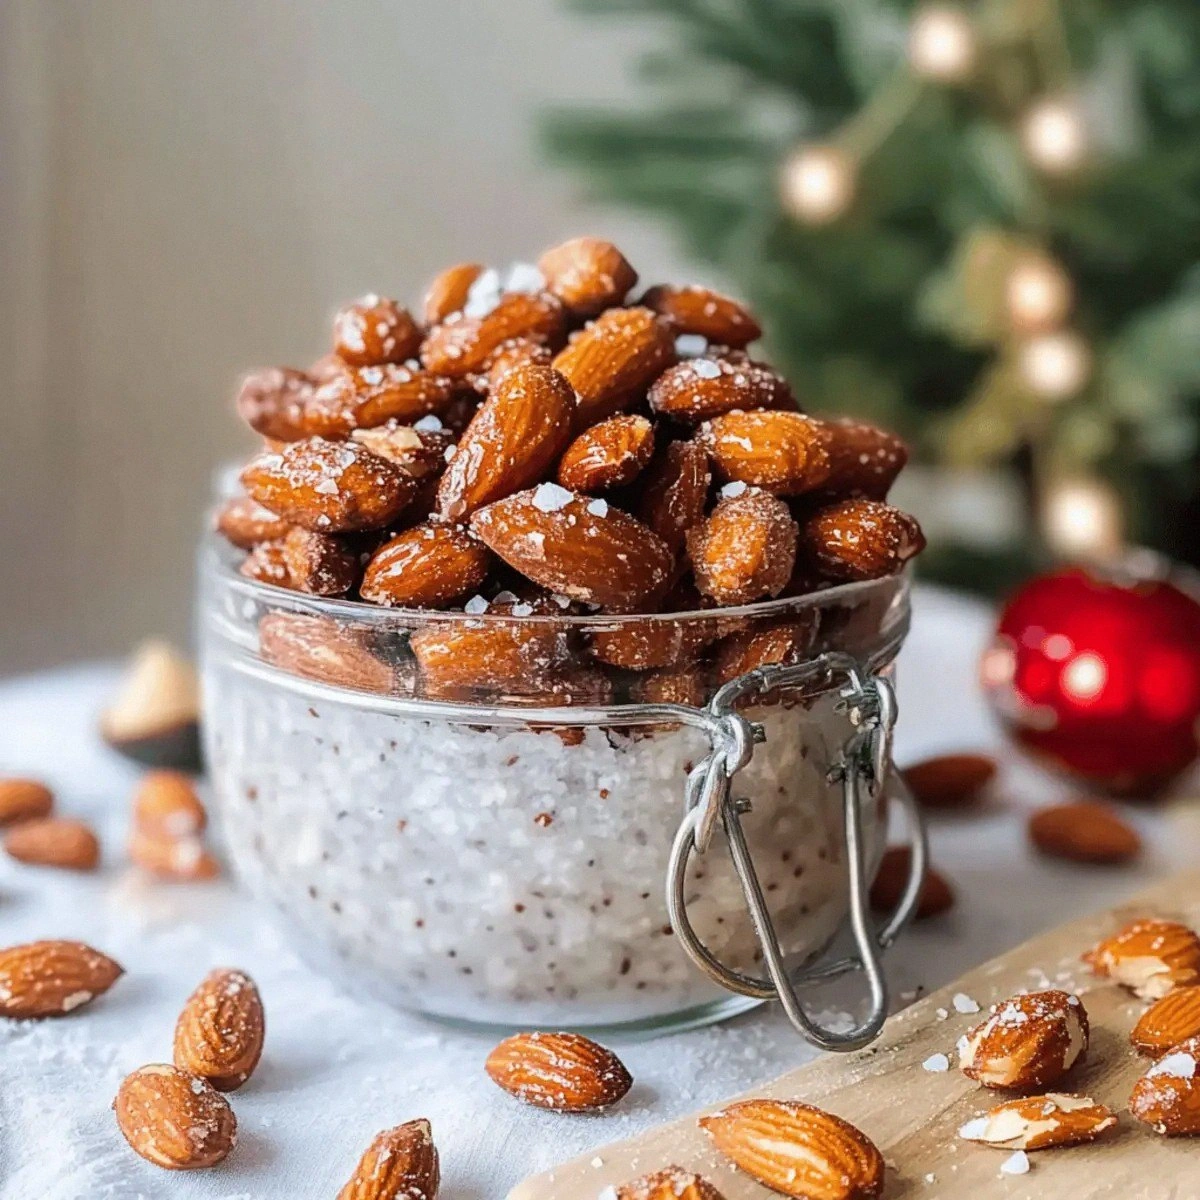
Incorporate ¼ cup finely chopped toasted almonds or pistachios into the dough before chilling. The nuts add a subtle crunch that contrasts beautifully with the soft crumb, and the nutty aroma complements the strawberry’s sweetness.
Spiced Autumn Version
Add a pinch of ground cinnamon and a dash of nutmeg to the flour, and replace the strawberries with 1 ounce of freeze‑dried raspberries. This creates a warm, comforting cookie perfect for cooler evenings.
Gluten‑Free Adaptation
Swap the all‑purpose flour for a 1:1 gluten‑free flour blend, and add a tablespoon of xanthan gum to maintain structure. The texture remains tender, and the strawberry flavor shines just as brightly.
Storing and Bringing It Back to Life
Fridge Storage
Place the cooled cookies in an airtight container lined with parchment paper. They’ll stay fresh for up to 5 days, and the chilled environment keeps the powdered sugar coating from clumping. If you notice any condensation, simply open the lid for a minute to let excess moisture escape.
Freezer Friendly
Layer the cookies between sheets of parchment and seal them in a freezer‑safe zip‑top bag. They’ll keep for up to three months. When you’re ready to enjoy them, let them thaw at room temperature for 15 minutes, then give them a quick 3‑minute warm‑up in a 300°F oven to revive that buttery melt‑away texture.
Best Reheating Method
To bring a cookie back to life, preheat your oven to 300°F, place the cookie on a baking sheet, and add a tiny splash (about 1 teaspoon) of water on the side of the cookie. The steam generated will re‑hydrate the crumb without making it soggy, and the butter will melt back to that perfect softness. In just 5 minutes, you’ll have a cookie that tastes as fresh as the day it left the oven.