Picture this: I’m standing in my tiny kitchen at 7 am, a half‑finished batch of plain pancakes sizzling on the griddle, and my roommate—still half‑asleep—throws a daring challenge over her shoulder, “Make something that actually makes me want to get out of bed.” I laughed, I scoffed, then I remembered the lone pumpkin puree I’d rescued from the back of the fridge, the cinnamon sticks still fresh from the spice rack, and a sudden flash of inspiration that felt like a fireworks show in my mind. That moment of reckless optimism turned into a culinary experiment that would forever change my morning routine.
The first whiff that hit me was pure autumn wrapped in a hug of sweet spice. The pumpkin’s earthy aroma mingled with the warm, sugary perfume of cinnamon, while the butter melted into a glossy sheen that made the batter look like liquid gold. I could hear the gentle sizzle of the batter hitting the hot pan, a sound that promised a crisp edge and a fluffy interior, like the perfect marriage of a pancake and a cinnamon roll. My fingertips tingled as the batter cooled just enough to swirl in the maple syrup, and the whole kitchen seemed to glow with a golden light that made the early sunrise feel like a spotlight on a stage.
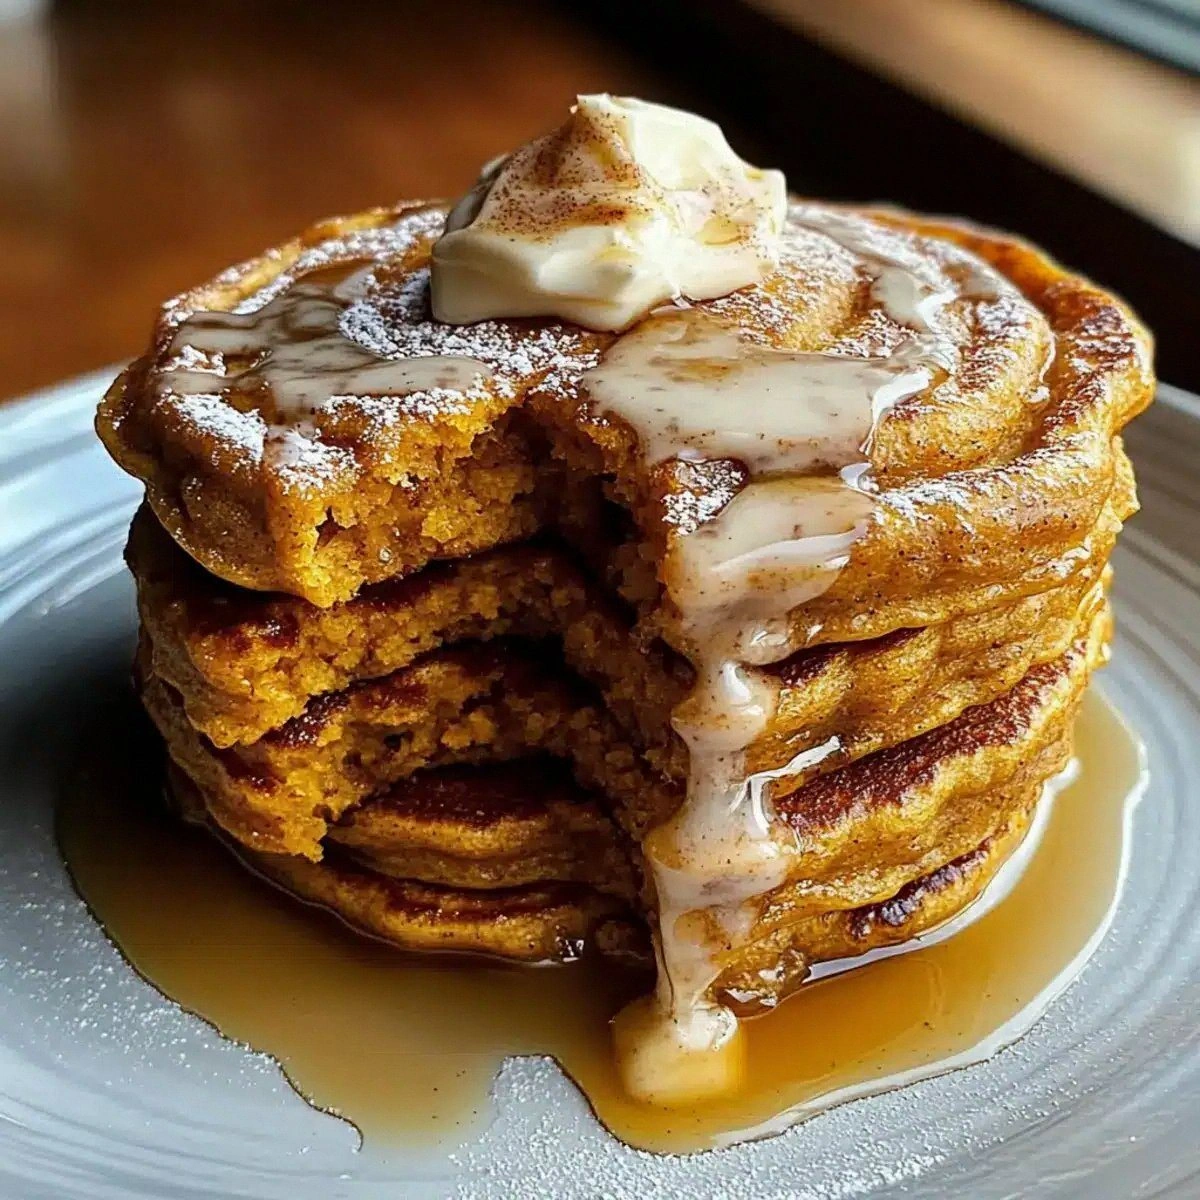
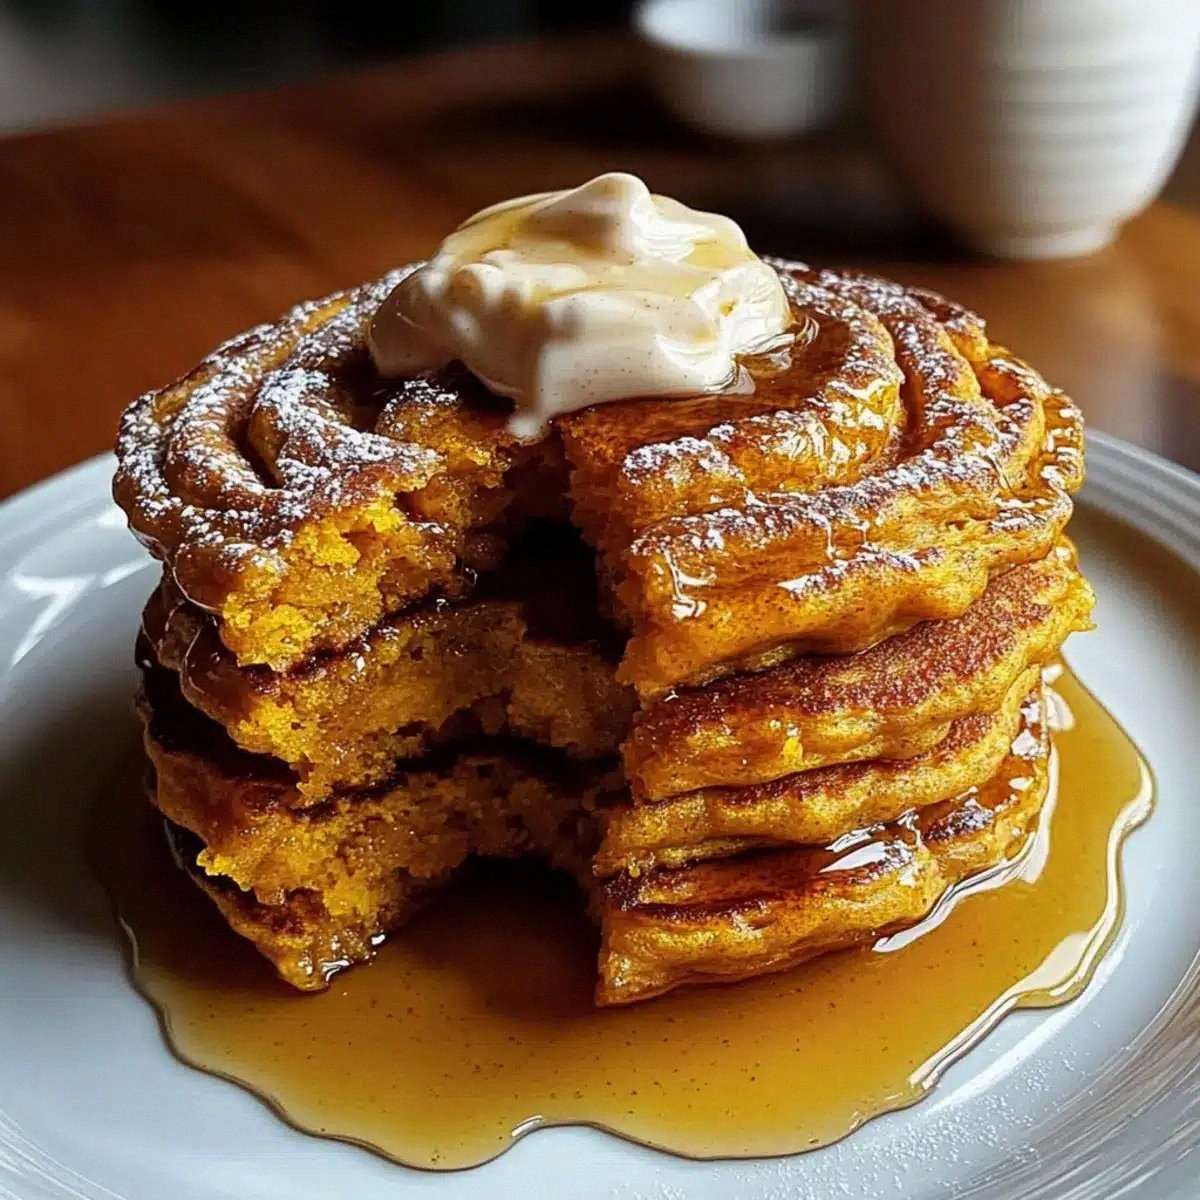
Most pumpkin pancake recipes I’ve tried either left the pumpkin flavor muted or turned the whole thing into a soggy mess that clung to the pan like a bad memory. This version, however, hits every note with precision: the pumpkin puree provides a moist, velvety base; the cinnamon and sugar swirl create caramelized pockets that snap with each bite; and the whipped honey‑cinnamon butter crowns the stack like a decadent frosting, making each forkful an adventure. I dare you to taste this and not go back for seconds—seriously, I’ve lost count of how many times I’ve gone back for more before the coffee even finished cooling.
But here’s the kicker: I’m about to reveal a secret technique that most recipes completely overlook—the “double‑infusion” of cinnamon, first in the batter and then as a spiced butter topping. This double hit amplifies the flavor without overwhelming the palate, delivering that perfect balance you’ve been chasing. Okay, ready for the game‑changer? Let me walk you through every single step—by the end, you’ll wonder how you ever made pancakes any other way.
What Makes This Version Stand Out
- Taste: The pumpkin provides a subtle earthiness that pairs flawlessly with the sweet maple glaze, while the cinnamon‑sugar swirl adds a caramel‑kissed crunch that makes each bite unforgettable.
- Texture: A fluffy, airy interior meets a lightly crisp edge, thanks to the precise balance of flour and pumpkin puree, creating a mouthfeel that feels like a cloud hugging a warm cinnamon roll.
- Simplicity: With just a handful of pantry staples and no fancy equipment, you can pull off a restaurant‑level breakfast in under an hour.
- Uniqueness: The double‑infusion technique of cinnamon—once in the batter, once in the butter topping—elevates the flavor profile beyond ordinary pumpkin pancakes.
- Crowd Reaction: Even the most skeptical breakfast skeptics gasp, “Is that pumpkin? Is that cinnamon? I need more!”—a guaranteed crowd‑pleaser for brunches or lazy Sundays.
- Ingredient Quality: Using pure pumpkin puree (not canned pie filling) and real maple syrup ensures the flavor shines without artificial aftertastes.
- Cooking Method: The batter rests just long enough to hydrate the flour, preventing gummy pancakes while preserving a light texture.
- Make‑Ahead Potential: The batter can be pre‑mixed and stored overnight, allowing you to wake up to a ready‑to‑cook breakfast that feels freshly made.
Inside the Ingredient List
The Flavor Base
The star of the show is the 1 cup Pumpkin Puree. This isn’t the sugary, spiced pumpkin pie filling you find in the aisle; it’s pure, unsweetened pumpkin that brings an earthy, slightly sweet foundation. If you skip it, you lose that velvety moisture that makes the pancakes tender, and you’ll end up with a dry, bland stack. For the best flavor, I recommend buying a whole pumpkin, roasting it, and pureeing it yourself—trust me, the difference is night and day.
The Texture Crew
1 cup All-Purpose Flour provides the structure, but the key is not over‑mixing. Too much agitation creates gluten, turning your pancakes rubbery. If you’re gluten‑intolerant, a 1:1 swap with a gluten‑free blend works beautifully, though you may need a touch more pumpkin puree to keep the batter moist.
2 tablespoons Sugar (for the batter) adds just enough sweetness to coax the pumpkin’s natural sugars forward without making the pancakes cloying. You could substitute coconut sugar for a deeper caramel note, but remember it will darken the batter slightly.
2 teaspoons Baking Powder is the leavening hero, giving the pancakes their lift. If you’re low on baking powder, a mix of 1 teaspoon baking soda plus 1 teaspoon cream of tartar works as a substitute, though the texture will be a tad denser.
The Unexpected Star
1/4 cup Maple Syrup isn’t just a topping; it’s folded into the batter to create a caramelized crust as the pancakes hit the pan. Using pure maple syrup (grade A) ensures a clean, woody sweetness that pairs perfectly with pumpkin. If you’re avoiding sugar, a 1:1 swap with agave nectar works, but the flavor will be less robust.
1/2 cup Whipped Honey Cinnamon Butter is the final flourish. This butter is a blend of softened butter, honey, and a pinch of cinnamon, whipped until airy. It spreads like a dream, melting into every crevice, and adds a glossy, buttery finish that makes the stack look restaurant‑ready.
The Final Flourish
Don’t overlook the 2 teaspoons Cinnamon (for the topping) and the extra 2 tablespoons Sugar that create a sweet, spiced crust on top of each pancake. This double‑cinnamon approach is what makes the flavor sing from the first bite to the last. If you love spice, a pinch of nutmeg or allspice can be added to the topping for an extra layer of complexity.
Everything's prepped? Good. Let's get into the real action...
The Method — Step by Step
First, combine the dry ingredients: in a large mixing bowl, whisk together the all‑purpose flour, baking powder, 2 tablespoons of sugar, 1 teaspoon of cinnamon, and the half‑teaspoon of salt. The whisk should dance through the mixture, breaking up any clumps and aerating the flour, which is crucial for a light texture. When you hear that soft “whoosh” sound, you know the dry blend is ready. Pro tip: sift the flour for an extra‑fluffy result.
In a separate bowl, blend the wet components: pour in the pumpkin puree, milk, and the large egg, then stir in the melted butter until the mixture is smooth and glossy. This is where the magic begins—watch the pumpkin puree turn a deep amber as it mingles with the milk, creating a velvety river of flavor.
Kitchen Hack: Use a hand‑held immersion blender for the wet mix; it eliminates lumps and saves time.Now, gently fold the dry mixture into the wet mixture. Use a rubber spatula and a gentle hand—over‑mixing will develop gluten and ruin the fluffiness. The batter should look slightly lumpy; that’s a good sign. If you’re feeling adventurous, let the batter rest for 10 minutes; this short nap lets the flour fully hydrate, delivering a tender crumb.
While the batter rests, prepare the cinnamon‑sugar topping. In a small bowl, combine the remaining 2 tablespoons of sugar with 2 teaspoons of cinnamon. Toss them together until the cinnamon is evenly coated, creating a fragrant, speckled mixture that will melt into a caramelized crust later.
Heat a non‑stick skillet or griddle over medium‑low heat and add a thin drizzle of butter. When the butter foams and begins to sizzle, it’s ready. Drop a ladleful of batter—about ¼ cup—into the pan, then immediately sprinkle a generous pinch of the cinnamon‑sugar blend over the surface. The sugar will begin to melt, forming tiny bubbles that pop like fireworks.
Watch the edges of the pancake start to pull away from the pan; this is your visual cue that it’s time to flip.
Flip confidently with a thin spatula, and let the second side cook for another 2‑3 minutes until golden brown and the cinnamon‑sugar has formed a glossy crust.Watch Out: If the heat is too high, the sugar will burn before the pancake cooks through, leaving a bitter taste.Once cooked, transfer the pancake to a warm plate and immediately drizzle with the ¼ cup of maple syrup. The syrup should mingle with the caramelized topping, creating a glossy glaze that pools beautifully. If you want an extra layer of decadence, dot the pancake with a dollop of the whipped honey‑cinnamon butter while it’s still hot; the butter will melt into a silky sauce.
Repeat the process with the remaining batter, adjusting the heat as needed to keep the pancakes from browning too quickly. Remember, the goal is a uniform golden edge and a tender center. As the stack grows, the aroma will fill the kitchen, making everyone wonder what culinary sorcery you’re performing.
Finally, serve the pancakes stacked high, drizzle any leftover maple syrup, and sprinkle the remaining cinnamon‑sugar mixture for a finishing touch. Picture yourself pulling this out of the pan, the whole kitchen smelling incredible, and your guests reaching for the second plate before the first is even cleared. That’s the moment of triumph—pure, buttery, pumpkin‑cinnamon bliss.
That's it — you did it. But hold on, I've got a few more tricks that'll take this to another level...
Insider Tricks for Flawless Results
The Temperature Rule Nobody Follows
Most home cooks set the stove to “medium” and hope for the best, but the secret is a precise 350°F (175°C) surface temperature. Use an infrared thermometer or simply flick a few drops of water onto the pan—if they dance and evaporate instantly, you’re golden. Too low, and the pancakes will be pale and soggy; too high, and the sugar burns before the interior cooks.
Why Your Nose Knows Best
Before you even flip, trust the scent. When the batter hits the pan, a sweet, nutty aroma will rise; when it deepens into a caramel note, you know the cinnamon‑sugar crust is forming. This olfactory cue is more reliable than a timer because it accounts for variations in pan material and stovetop heat.
The 5‑Minute Rest That Changes Everything
Letting the batter sit for exactly five minutes after mixing allows the pumpkin fibers to hydrate the flour, reducing gluten formation. The result? Pancakes that are airy on the inside and tender on the outside. Skipping this step is the most common reason for dense, gummy pancakes.
Butter vs. Oil: The Real Debate
While butter adds flavor, a splash of neutral oil (like grapeseed) in the pan prevents the butter from burning at higher temperatures. I like to start with butter for flavor, then finish with a thin layer of oil to keep the surface stable. A friend tried using only oil once—let's just say the pancakes lacked that buttery richness.
Double‑Infusion Cinnamon Magic
The real secret weapon is adding cinnamon twice—once in the batter, once in the topping. This creates a layered spice profile that deepens as the pancake cooks, giving you that “first bite, then a lingering finish” sensation.
Creative Twists and Variations
This recipe is a playground. Here are some of my favorite ways to switch things up:
Apple‑Cinnamon Fusion
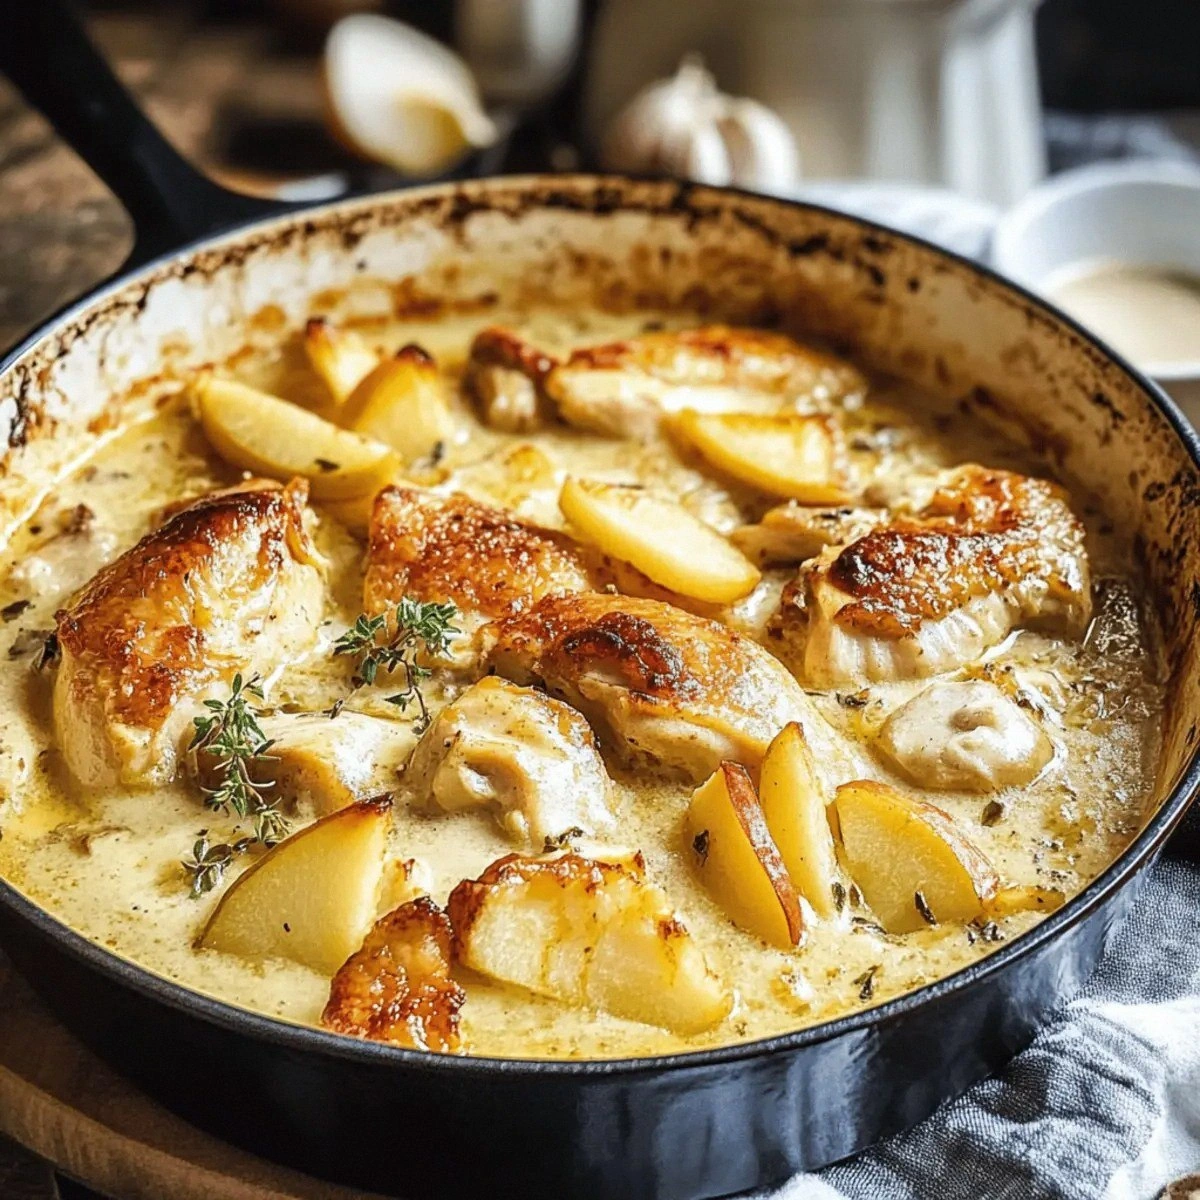
Swap half of the pumpkin puree for unsweetened applesauce, and add a handful of finely diced apples to the batter. The result is a crisp‑sweet bite that reminds you of a caramel apple, perfect for a late‑fall brunch.
Chocolate Hazelnut Dream
Stir in 2 tablespoons of cocoa powder into the dry mix and sprinkle chopped toasted hazelnuts on top before flipping. The bittersweet chocolate pairs beautifully with the pumpkin, creating a dessert‑style breakfast.
Spicy Maple Kick
Mix a pinch of cayenne pepper into the cinnamon‑sugar topping and drizzle with a splash of spicy maple syrup (maple syrup infused with a tiny amount of chipotle). This adds a surprising heat that balances the sweet.
Vegan Velvet
Replace the egg with a “flax egg” (1 tablespoon ground flaxseed mixed with 3 tablespoons water) and swap butter for coconut oil. The pancakes stay just as fluffy, and the coconut oil adds a subtle tropical note.
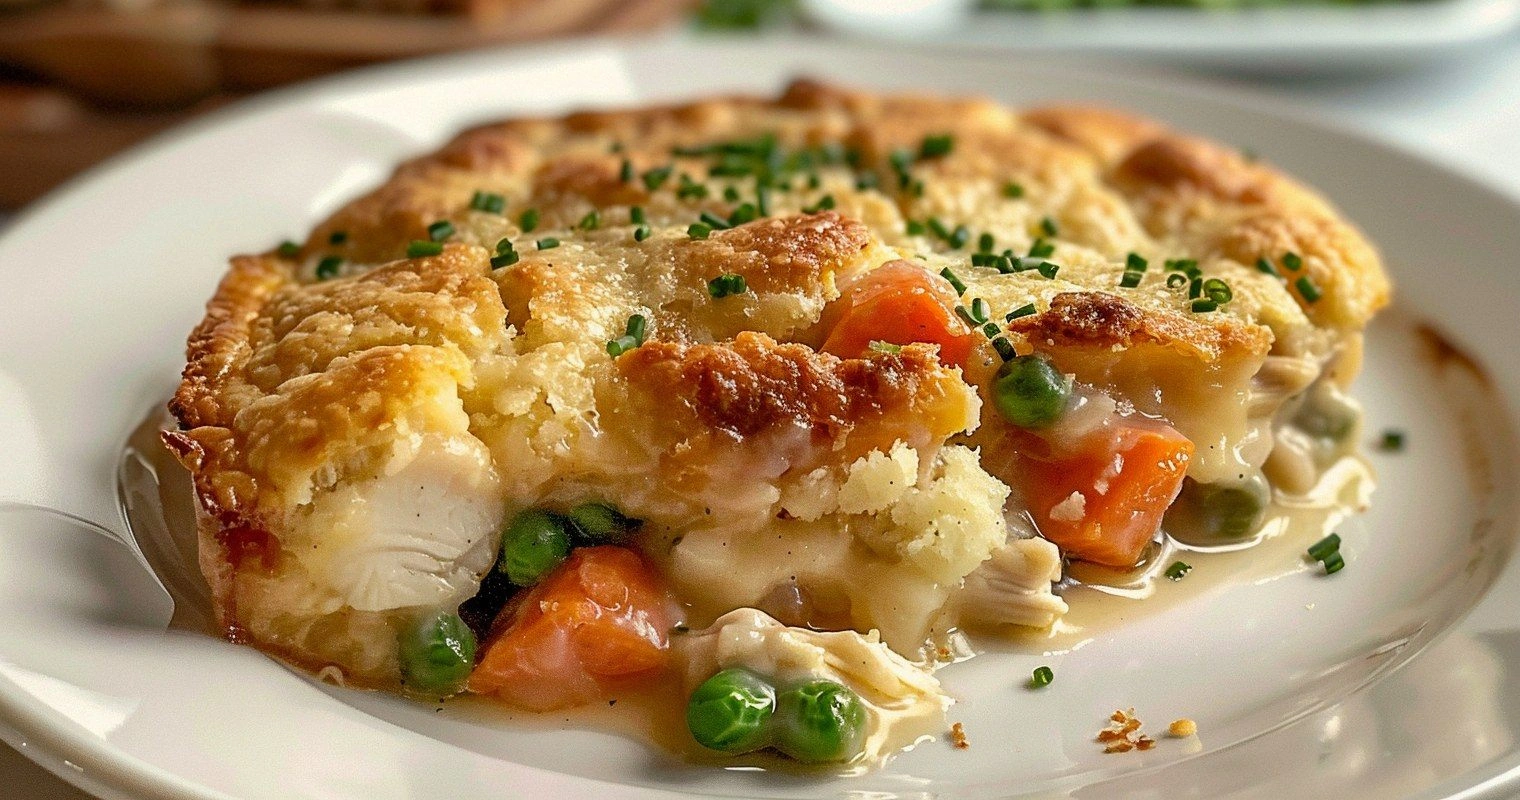
Savory Sunrise
Omit the sugar and maple syrup, add a pinch of smoked paprika to the batter, and serve with a dollop of crème fraîche and chives. This turns the dish into a savory brunch masterpiece that still showcases pumpkin’s earthiness.
Storing and Bringing It Back to Life
Fridge Storage
Let the pancakes cool completely, then layer them between parchment paper and store in an airtight container. They’ll stay fresh for up to three days. When ready to eat, reheat in a skillet over medium heat for 2‑3 minutes per side, adding a tiny splash of water to the pan to create steam and revive the fluffy interior.
Freezer Friendly
Stack the cooled pancakes with wax paper between each layer, place them in a freezer‑safe zip‑top bag, and freeze for up to two months. To reheat, pop them straight into a preheated oven at 350°F (175°C) for 8‑10 minutes, or microwave for 30 seconds, then finish in a hot skillet for a crisp edge.
Best Reheating Method
The ultimate reheating trick is a quick steam‑boost: drizzle a teaspoon of water onto the pancake, cover with a lid, and heat for 30 seconds. The steam revives the moisture, while the brief uncovered finish restores that coveted caramelized crust.