I still remember the night the kitchen turned into a battleground and I was left with a half‑baked mess that tasted like burnt sugar and regret. A friend dared me to make brownies that would make the whole neighborhood swoon, and I swore I would deliver. I spent the next week tinkering with ratios, testing textures, and finally cracked a formula that feels like a secret handshake between chocolate and butter. This isn’t just another brownie recipe; it’s a love letter to the gooey center, the crackling edges, and the moment when the aroma makes the whole house sigh in anticipation. I’m about to walk you through every single step, and by the end you’ll wonder how you ever made it any other way.
Picture yourself pulling this out of the oven, the whole kitchen smelling incredible, the timer buzzing like a tiny applause. The first bite melts like velvet on your tongue, the crunch of the edges giving way to a molten core that oozes chocolate dreams. I dare you to taste this and not go back for seconds because once you do, you’ll never settle for anything else. If you’ve ever struggled with brownies that are either dry or gooey, you’re not alone — and I’ve got the fix that will keep them perfectly balanced. This is hands down the best version you’ll ever make at home, and I’ll show you exactly why.
Most recipes get this completely wrong by over‑baking or under‑mixing, but here we’re going to keep the batter silky, the structure firm, and the flavor rich. The trick is simple: melt the butter, fold in the sugar, and let the eggs create a custard‑like base that locks in moisture. Then we’ll add cocoa, flour, and a splash of vanilla to deepen the depth. The final touch? A swirl of chocolate chips that melt into the batter, giving each bite a surprise burst of chocolatey goodness. Stay with me here — this is worth it.
The next few paragraphs will dissect what makes this recipe stand out, break down every ingredient, and walk you through a method that guarantees brownie perfection. I’ll sprinkle in a few kitchen hacks, fun facts, and warnings that will save you from common pitfalls. And when we’re done, you’ll have a recipe that’s not just a set of steps, but a story you can share and a treat you can brag about. Let’s dive in.
What Makes This Version Stand Out
- Taste: The combination of high‑quality cocoa, real butter, and vanilla creates a chocolate profile that is both deep and buttery, unlike the flat flavor of instant mixes.
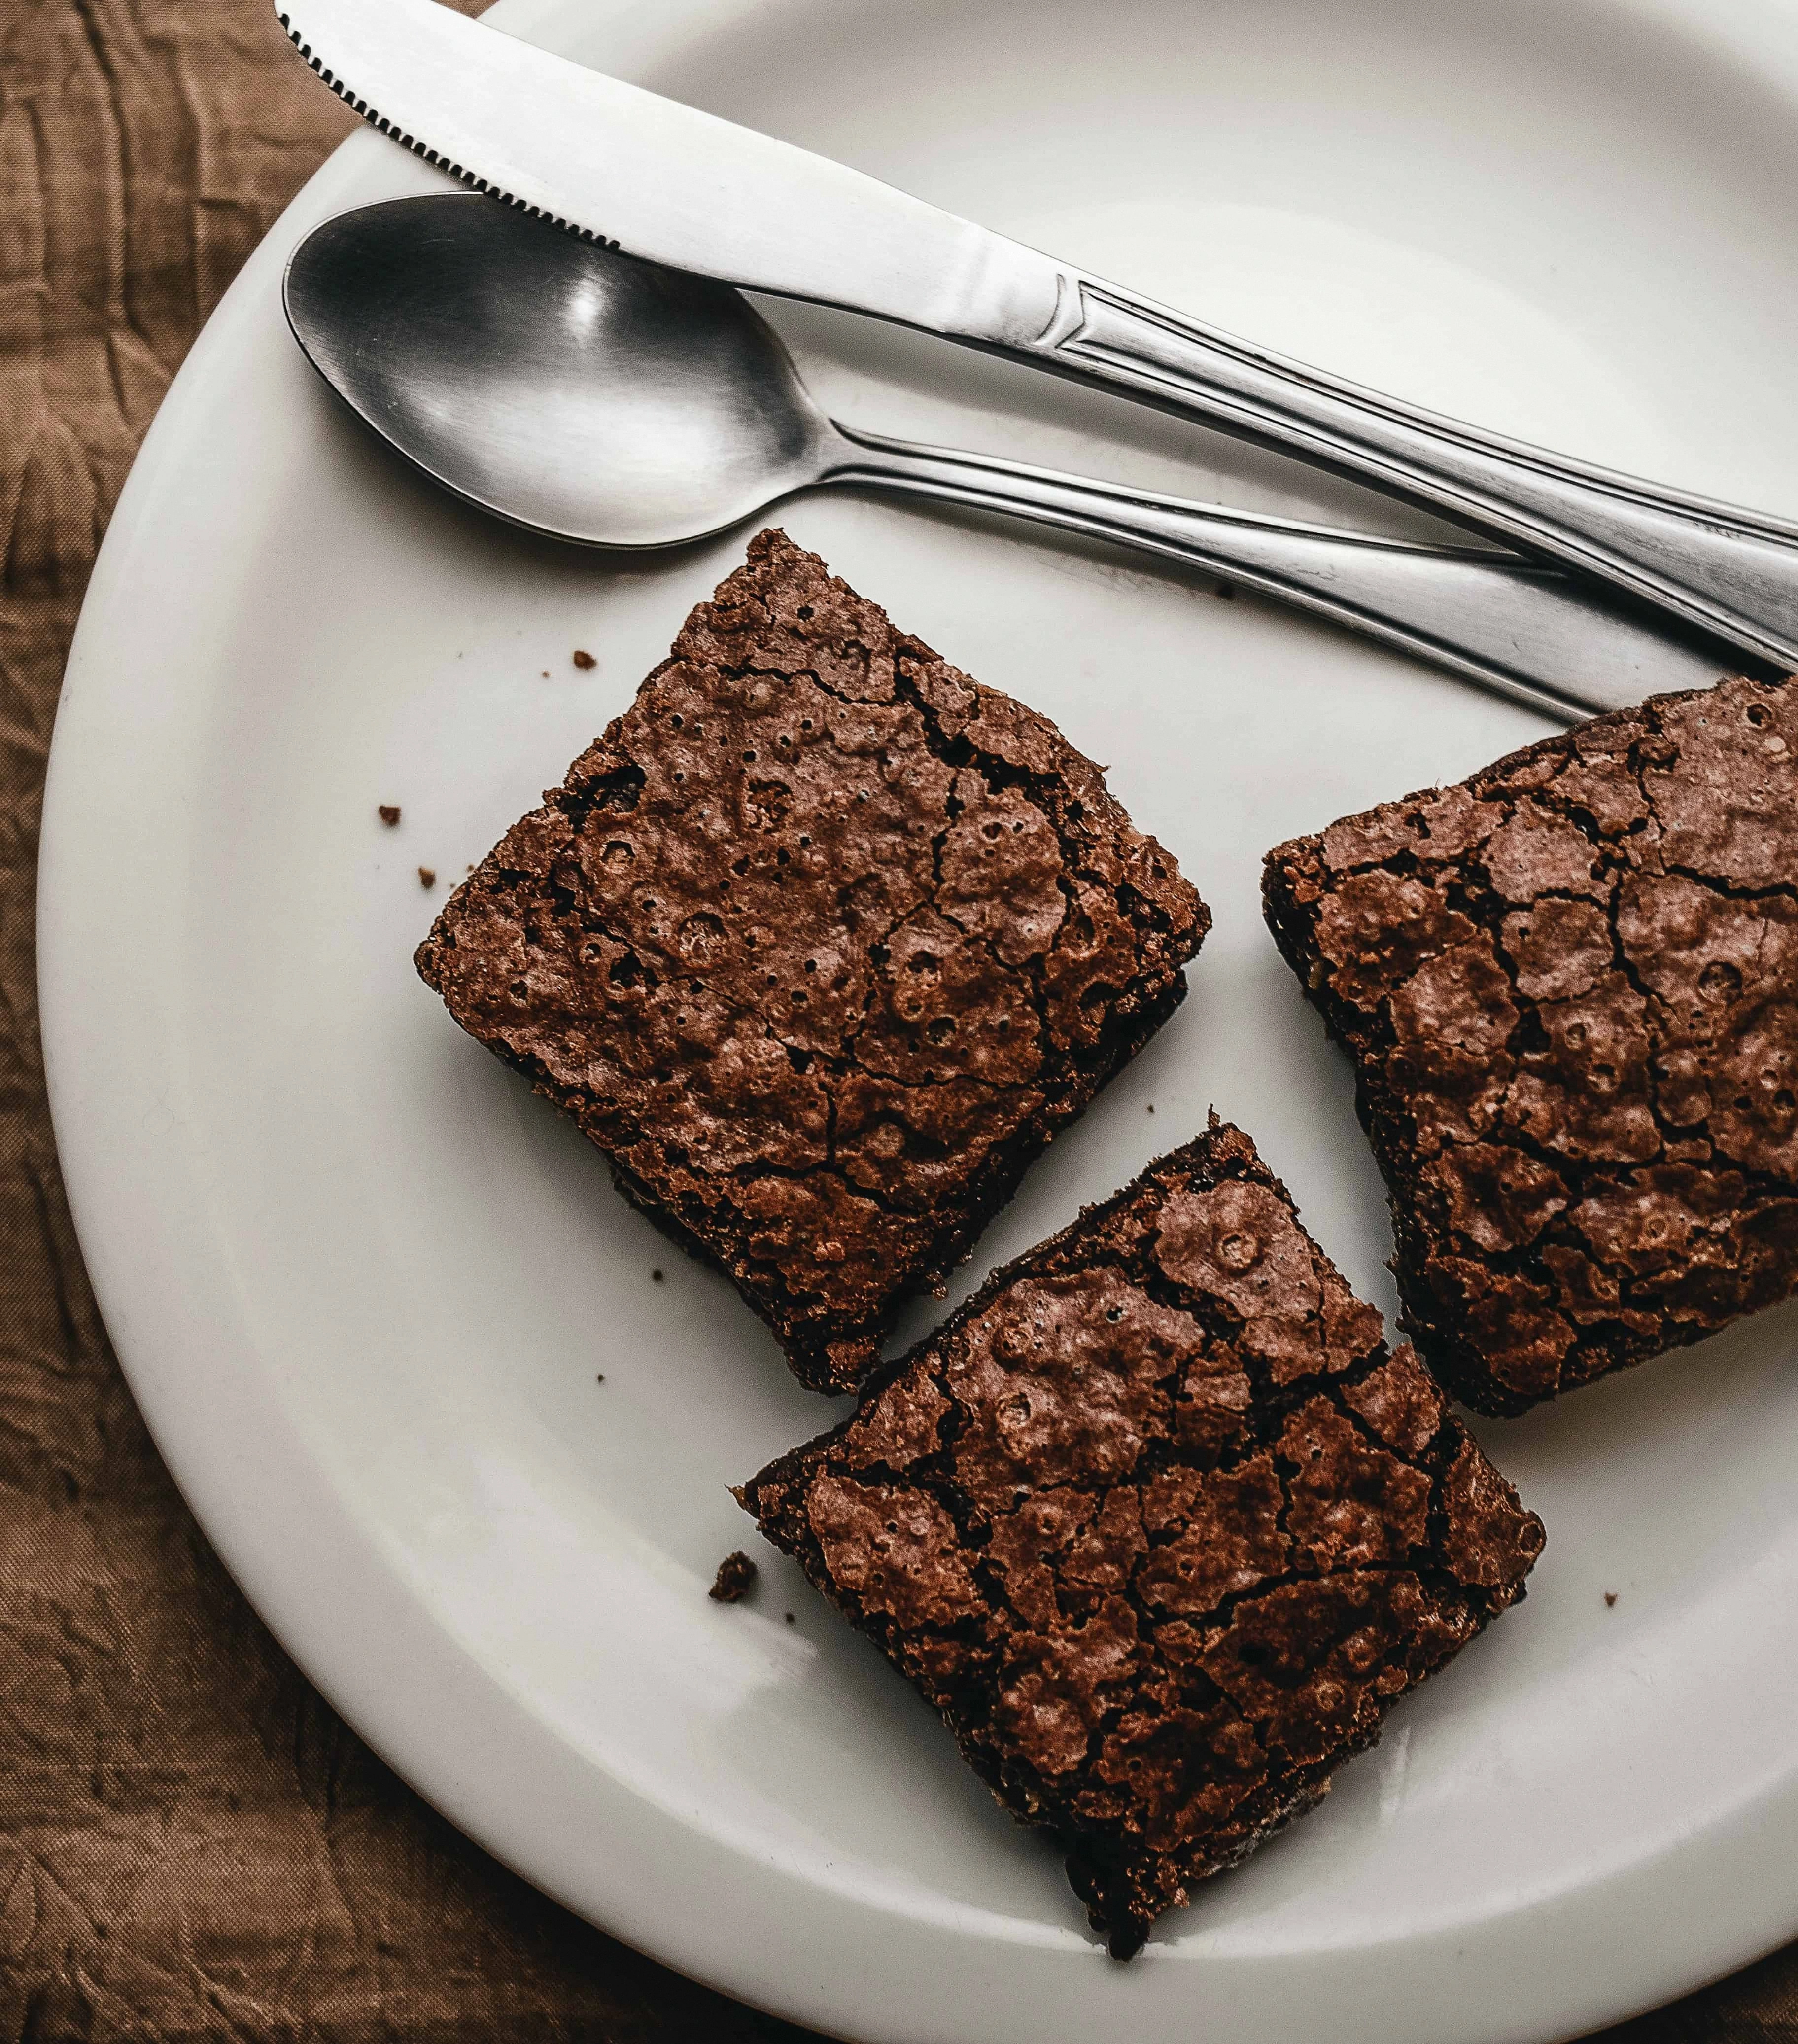
- Texture: The batter’s custard base locks in moisture, giving a fudgy center while the edges caramelize into a satisfying crack.
- Simple Method: Only nine ingredients, no pre‑mixes or special equipment, making it accessible for any kitchen.
- Ingredient Quality: Using unsalted butter and real cocoa powder rather than chocolate chips ensures a pure chocolate experience.
- Crowd Reaction: Guests often ask for the recipe after tasting, and the result is a guaranteed “wow” moment.
- Make‑Ahead Potential: Brownies bake in 30 minutes, cool, and store for up to a week, making them perfect for parties.
- Optional Add‑Ons: Chocolate chips and nuts add layers of texture without compromising the core flavor.
- Visual Appeal: The glossy finish and uniform rise make for Instagram‑ready slices that look as good as they taste.
Inside the Ingredient List
The Flavor Base
Unsalted butter: Butter is the backbone of the brownies, providing richness and a glossy sheen. It also carries the cocoa’s flavor, preventing the chocolate from feeling flat. Skipping butter will leave the brownies dry and less aromatic. For a dairy‑free twist, try coconut oil, but the flavor profile will shift slightly.
The Texture Crew
Granulated sugar: Sugar not only sweetens but also contributes to the batter’s structure. It dissolves into the melted butter, creating a smooth base that holds together. Using brown sugar would give a caramel undertone but can change the crumb. For a low‑carb version, replace with erythritol, but adjust the volume.
Eggs: Eggs are the glue that binds everything and creates a custard‑like consistency. They also add protein, which helps the brownies set properly. If you’re vegan, substitute with flaxseed eggs or a commercial egg replacer to maintain structure. Over‑whisking eggs can incorporate too much air, resulting in a cakey texture.
The Unexpected Star
Vanilla extract: A single teaspoon lifts the chocolate, adding depth and complexity. Vanilla’s subtle sweetness balances the bitterness of cocoa. A higher quality vanilla (like Madagascar vanilla) will give a more pronounced aroma. If you’re allergic, vanilla bean paste is a safe alternative.
The Final Flourish
Cocoa powder: Pure, unsweetened cocoa provides the core chocolate flavor and a slightly bitter edge that balances the sweetness. If you prefer a sweeter bite, use Dutch‑process cocoa, but it will reduce acidity. The amount of cocoa also influences the final crumb; too little and the brownies will be bland.
Salt: A pinch of salt is essential to enhance all the flavors. Salt draws out sweetness and balances the bitterness of cocoa. If you’re watching sodium, use a low‑sodium version, but don’t skip it entirely. A sprinkle on top before baking can also create a subtle caramelized crust.
Chocolate chips (optional): They melt into pockets of gooey chocolate, adding surprise bursts in each bite. Use high‑percentage chocolate for richer flavor. For a crunchy twist, add dark chocolate chunks that retain shape. If you’re avoiding chocolate chips, you can increase the cocoa powder for extra depth.
Chopped nuts (optional): Nuts add texture and a nutty flavor that complements the chocolate. Walnuts give a slightly bitter bite, while pecans offer a buttery sweetness. Toast the nuts lightly before adding to enhance their flavor. If you’re allergic, omit them or replace with sunflower seeds for crunch.
Everything’s prepped? Good. Let’s get into the real action.
The Method — Step by Step
- Preheat your oven to 350°F (175°C). Line an 8‑inch square pan with parchment paper, leaving an overhang for easy removal. The parchment ensures even baking and simplifies cleanup. If you don’t have parchment, lightly grease the pan with butter or oil.
- Melt the butter. Use a medium saucepan over low heat, stirring until it’s fully melted and lightly golden. The butter should not brown; if it does, lower the heat. Once melted, remove from heat and let it cool a touch to avoid cooking the eggs.
- Combine butter and sugar. Stir the melted butter into the granulated sugar until the mixture is smooth and glossy. The sugar should dissolve completely, forming a syrupy base. This step is critical for a uniform crumb.
- Beat in the eggs one at a time. Add the first egg, whisking until fully incorporated before adding the next. This prevents curdling and ensures a smooth batter. The batter should have a thick, custard‑like consistency.
- Stir in vanilla extract. A single teaspoon is all you need to lift the chocolate flavor. Mix until the vanilla is fully distributed. The aroma should be inviting and chocolatey.
- Sift in cocoa powder, flour, and salt. Sifting eliminates lumps and ensures an even distribution of dry ingredients. Fold them gently with a spatula, being careful not to over‑mix. The batter should be thick but pourable.
- Fold in chocolate chips and nuts. Gently swirl them into the batter, ensuring even distribution. The chips should be partially submerged to create pockets of molten chocolate. The nuts add crunch but can be omitted if desired.
- Pour the batter into the prepared pan. Spread it evenly with a spatula. Tap the pan lightly on the counter to release any air bubbles. The batter should be level for uniform baking.
- Bake for 30 minutes. Keep an eye on the edges; they should start pulling away from the pan but still look slightly shiny. The center should still be slightly jiggly when you gently shake the pan. This is the sweet spot between fudgy and chewy.
- Cool completely. Remove the brownies from the oven and let them sit in the pan on a wire rack for at least 30 minutes. This allows the flavors to set and the edges to firm up. If you cut them too early, they’ll be gummy.
- Slice and serve. Use a serrated knife to cut clean slices. The knife should glide through the brownie, revealing the glossy center. Serve immediately for the best texture, or store as described later.
That’s it — you did it. But hold on, I've got a few more tricks that'll take this to another level. These insider tips will help you avoid common mistakes and elevate the flavor profile even further.
Insider Tricks for Flawless Results
The Temperature Rule Nobody Follows
Always preheat the oven fully. An under‑heated oven will cause the brownies to spread too much, resulting in thin, dry pieces. I’ve seen ovens that run 10–15°F lower than the set temperature; using a thermometer can catch this. Bake at a steady 350°F to ensure even rise and texture.
Why Your Nose Knows Best
Smell the batter. A fragrant, slightly caramelized scent indicates the butter has melted properly and the sugar is starting to dissolve. If it smells raw, give it a minute longer on low heat. Your nose is a reliable guide to the batter’s readiness.
The 5‑Minute Rest That Changes Everything
Let the brownies rest in the pan for 5 minutes after baking. This brief pause allows the structure to set, making slicing cleaner. During this time, the edges will firm up and the center will not collapse. I’ve found that cutting immediately often yields gummy slices.
Avoiding the Crumbly Mistake
Do not over‑mix after adding flour. Once the dry ingredients are incorporated, stop whisking. Over‑mixing introduces air, leading to a cake‑like crumb. Gently fold until just combined, and the batter will hold its shape.
The Secret to a Glossy Finish
Brush the top with a thin layer of melted butter before baking. This creates a shiny crust that enhances visual appeal. The butter also helps the chocolate chips melt into the surface, giving a subtle sheen. Try it next time for a professional look.
The Right Pan Size
Use an 8‑inch square pan. A smaller pan yields thicker brownies with a fudgy center; a larger pan spreads them thin and crisp. The 8‑inch size is a sweet spot for a balance of texture and ease of slicing. If you have a different pan, adjust the baking time accordingly.
Creative Twists and Variations
This recipe is a playground. Here are some of my favorite ways to switch things up:
Salted Caramel Swirl
Swirl a spoonful of salted caramel into the batter before baking. The caramel pockets melt into the chocolate, adding a sweet‑salty contrast. Use store‑bought caramel or make your own with butter, brown sugar, and sea salt. This variation is a crowd‑pleaser at dessert tables.
Espresso Infusion
Add a teaspoon of instant espresso powder to the dry ingredients. Espresso intensifies the chocolate flavor without adding coffee taste. It also gives a subtle depth that pairs well with nuts. This is perfect for coffee lovers seeking a richer bite.
Minty Mint Chocolate
Fold in a tablespoon of peppermint extract after the eggs. The mint gives a refreshing kick that balances the sweetness. Pair with crushed mint chocolate chips for extra texture. This twist is ideal for holiday gatherings.
Almond Crunch
Replace the walnuts with sliced almonds. Toast the almonds lightly before adding to enhance flavor. Almonds add a delicate crunch and nutty aroma. They also pair beautifully with dark chocolate chips.
S’mores Brownies
Fold in mini marshmallows and graham cracker crumbs. The marshmallows melt into gooey pockets, while the crumbs add a subtle crunch. This version recreates campfire nostalgia in a bite‑size form. Serve warm for the ultimate comfort.
Vegan Chocolate Brownies
Replace butter with coconut oil and eggs with flaxseed eggs (1 tablespoon ground flaxseed + 3 tablespoons water). Use plant‑based milk to keep moisture. The result is a fudgy, chocolatey treat that’s dairy‑free. It’s a great option for guests with dietary restrictions.
Storing and Bringing It Back to Life
Fridge Storage
Store in an airtight container. The brownies will keep for up to a week in the refrigerator. Keep them on a paper towel to absorb excess moisture. If you notice a slight dryness, reheat them in the microwave for 10 seconds to revive moisture.
Freezer Friendly
Wrap tightly in plastic wrap. Place the wrapped brownies in a freezer bag and freeze for up to three months. Thaw at room temperature for 30 minutes before serving. The texture remains fudgy, and the chocolate stays glossy.
Best Reheating Method
Microwave or oven. For a quick fix, microwave on low for 15–20 seconds. For a crispier top, bake at 300°F for 5 minutes. Add a tiny splash of water before reheating; it steams the brownies back to perfection, preserving moisture.